


davy140
-
Posts
167 -
Joined
-
Last visited
-
Days Won
5
Content Type
Profiles
Forums
Store
Events
Posts posted by davy140
-
-
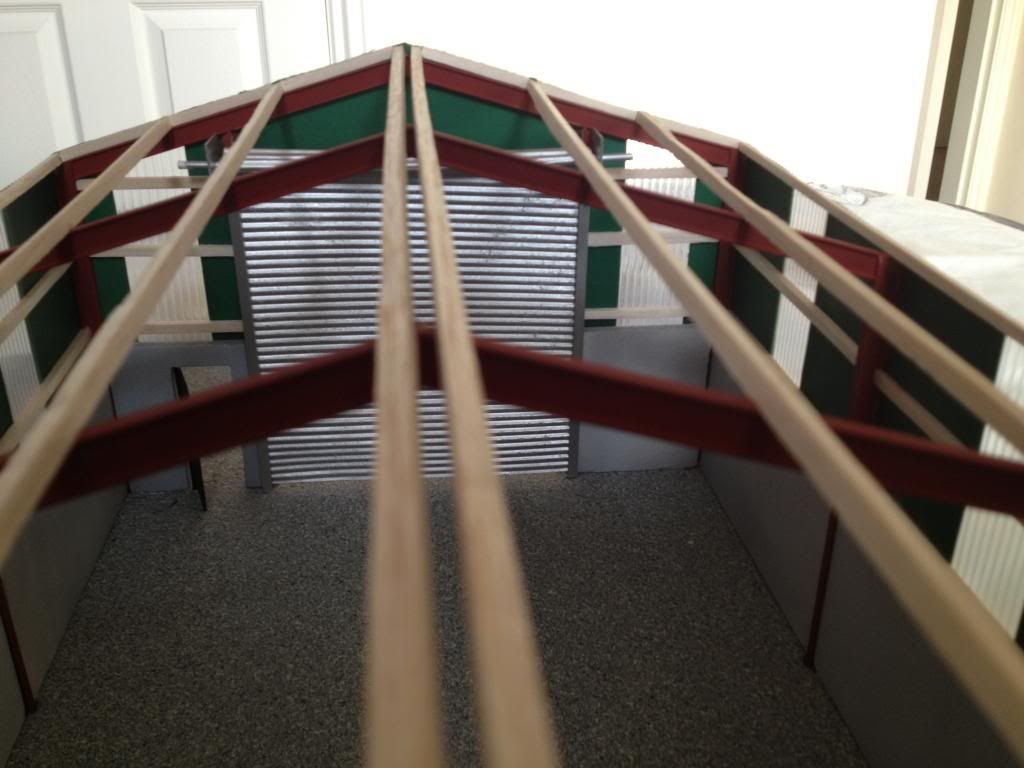
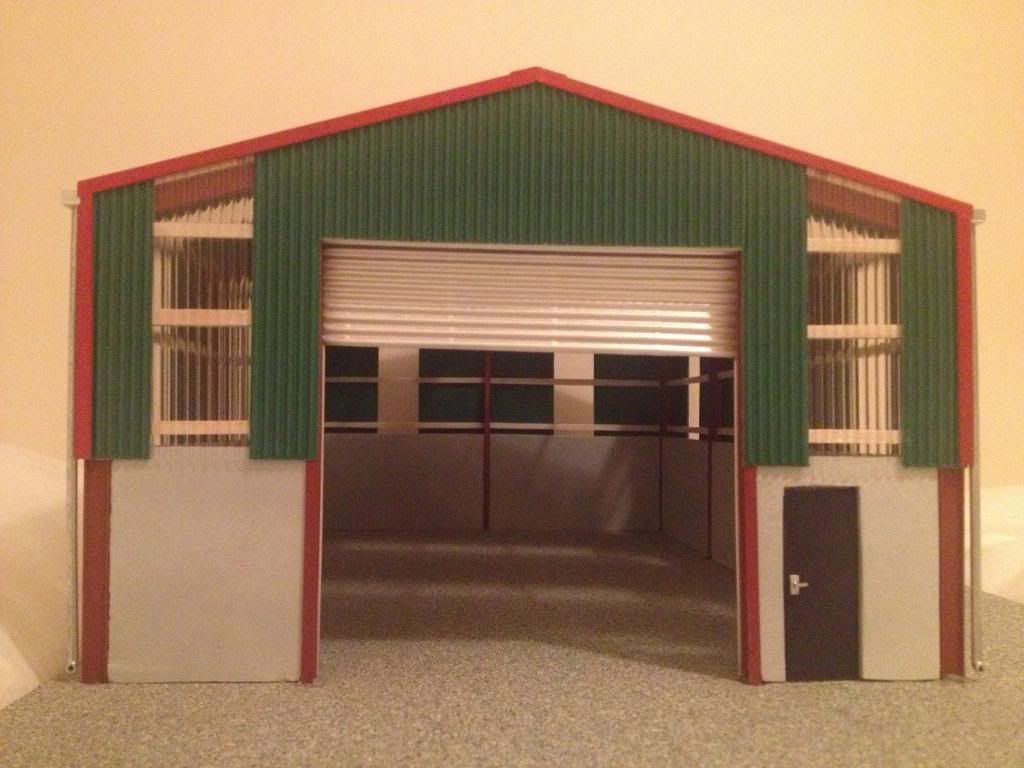
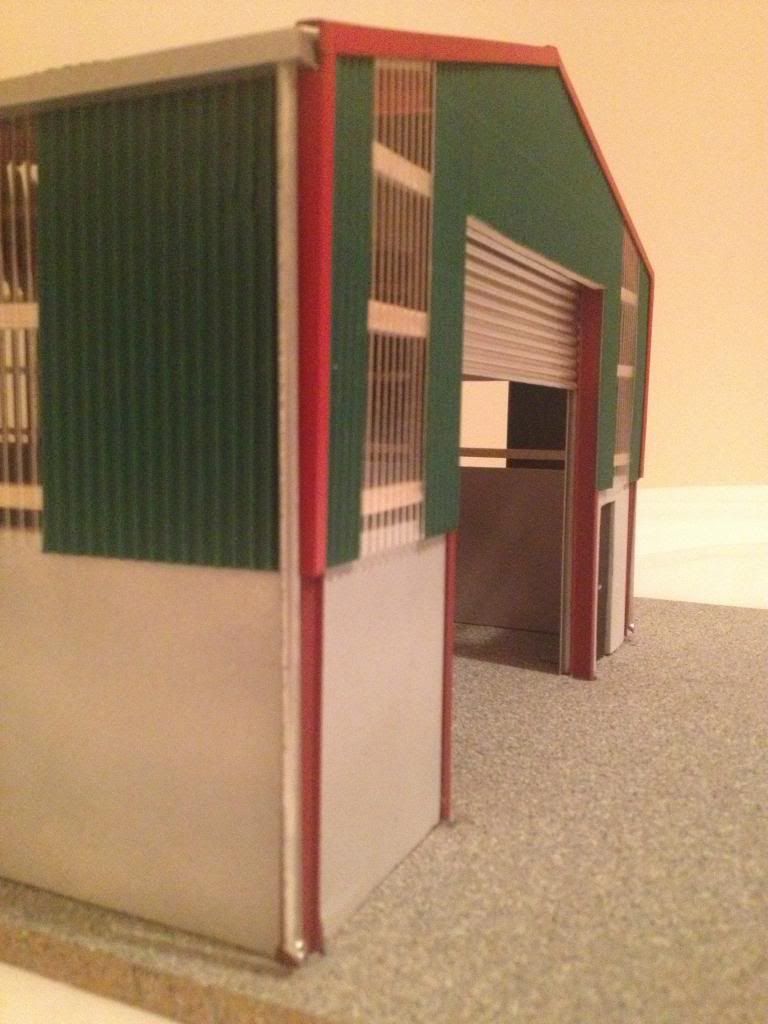
A few pics to show the back of the roller door.
-
 1
1
-
-
Thanks for all the nice comments folks.
I've got one of the workshop sets from Mandy. So I need to get it painted and built. I'll see how that looks and take it from there.
The door's made from corrugated card, sprayed silver. I've a strip of angle up the back of the 2 H-irons. The door runs on these and rolls up above the opening. A bit like the real thing. I'll post a picture below to show you.
-
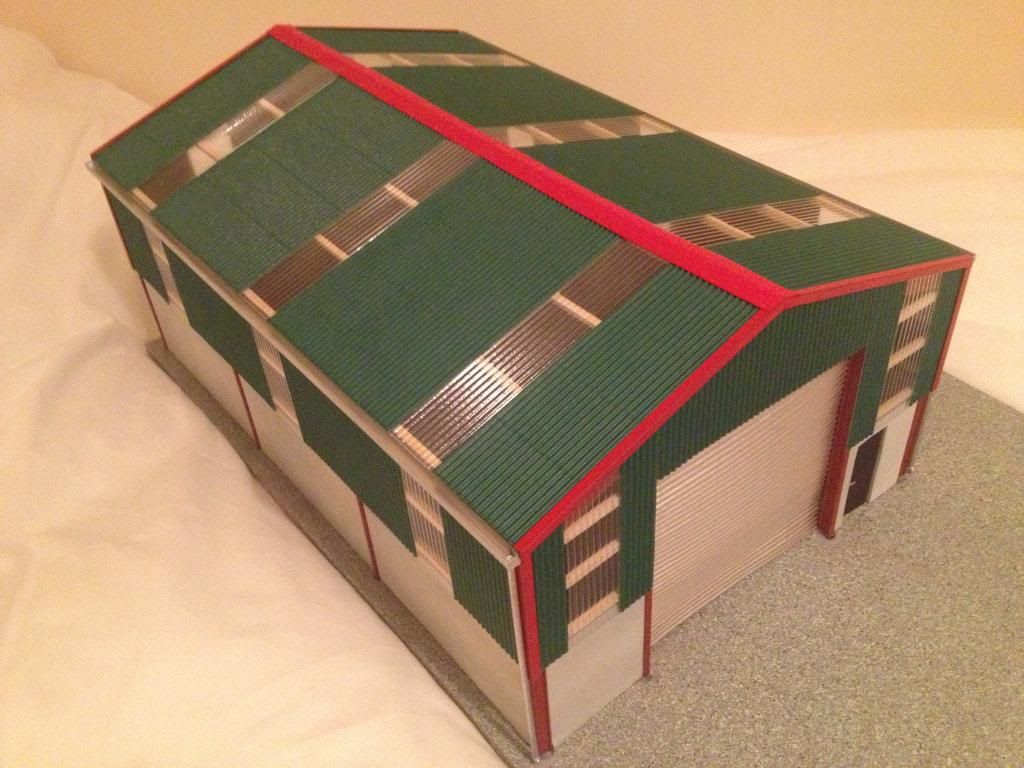
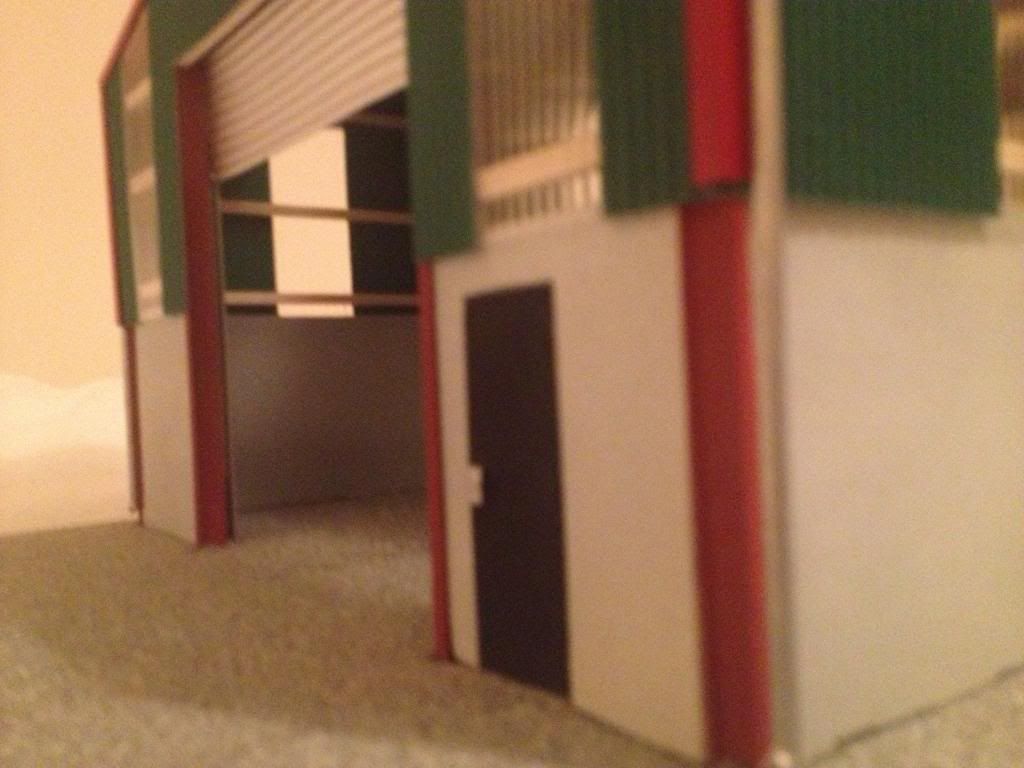
Some more pics.

-
3
-
-
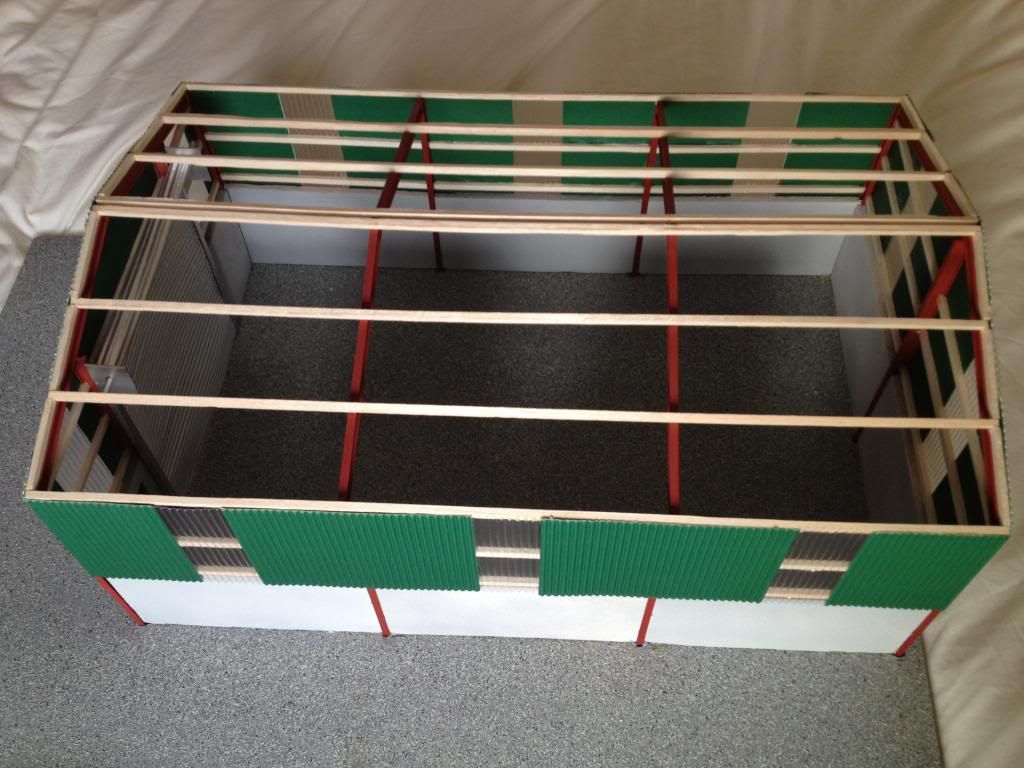
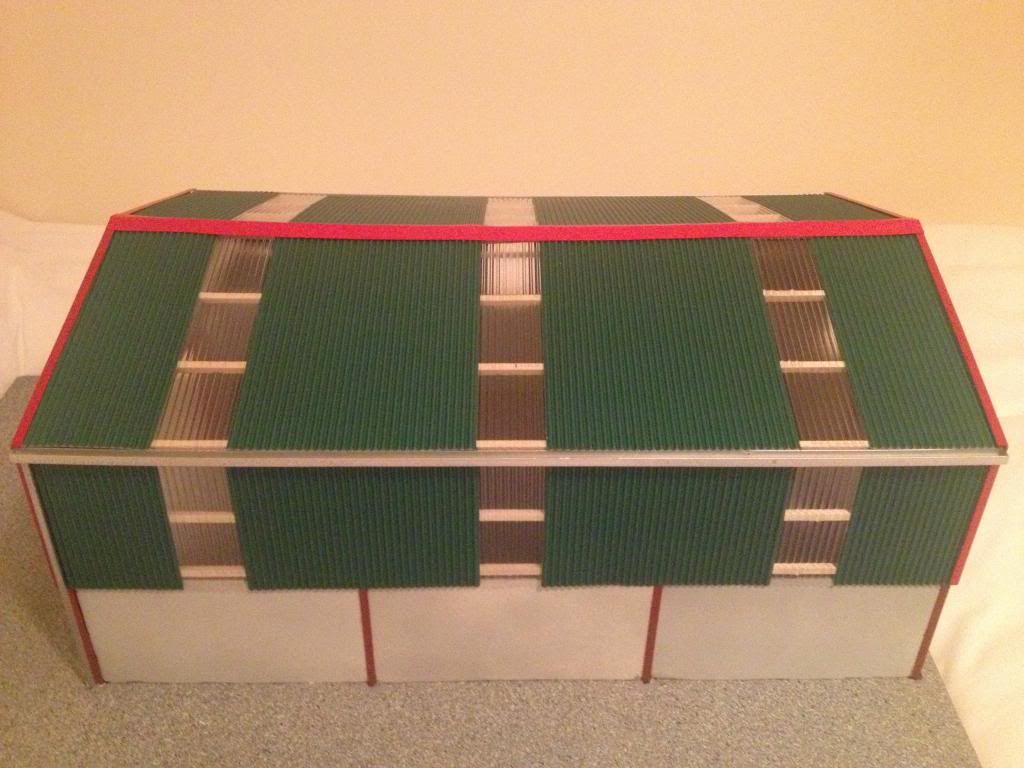
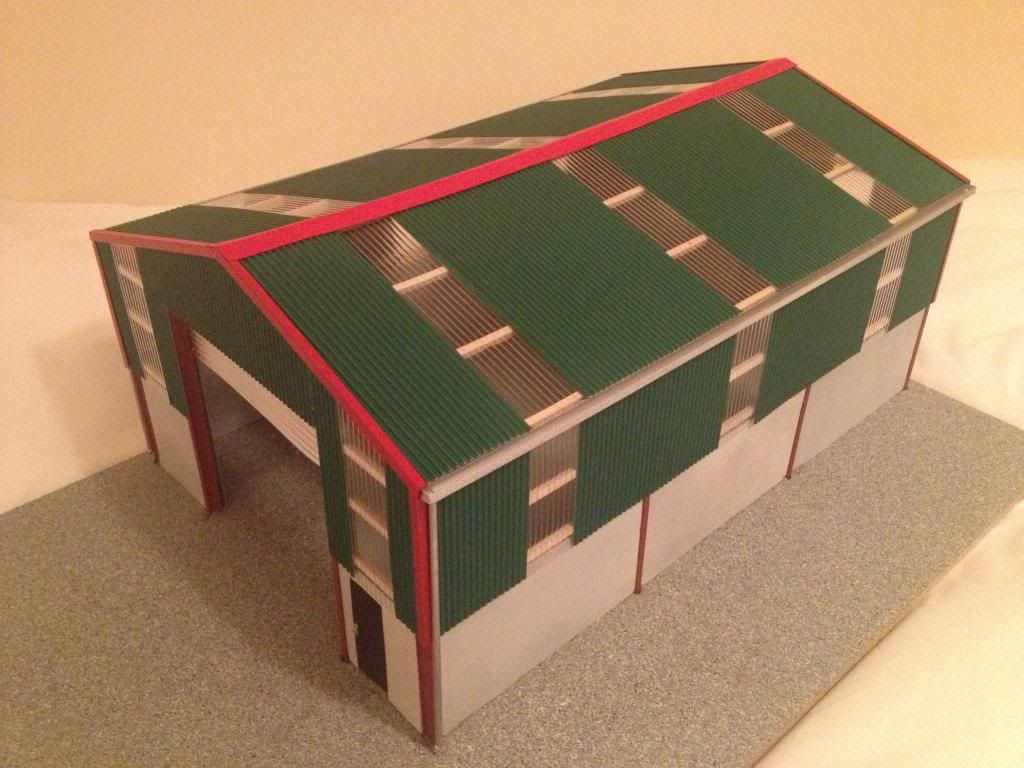
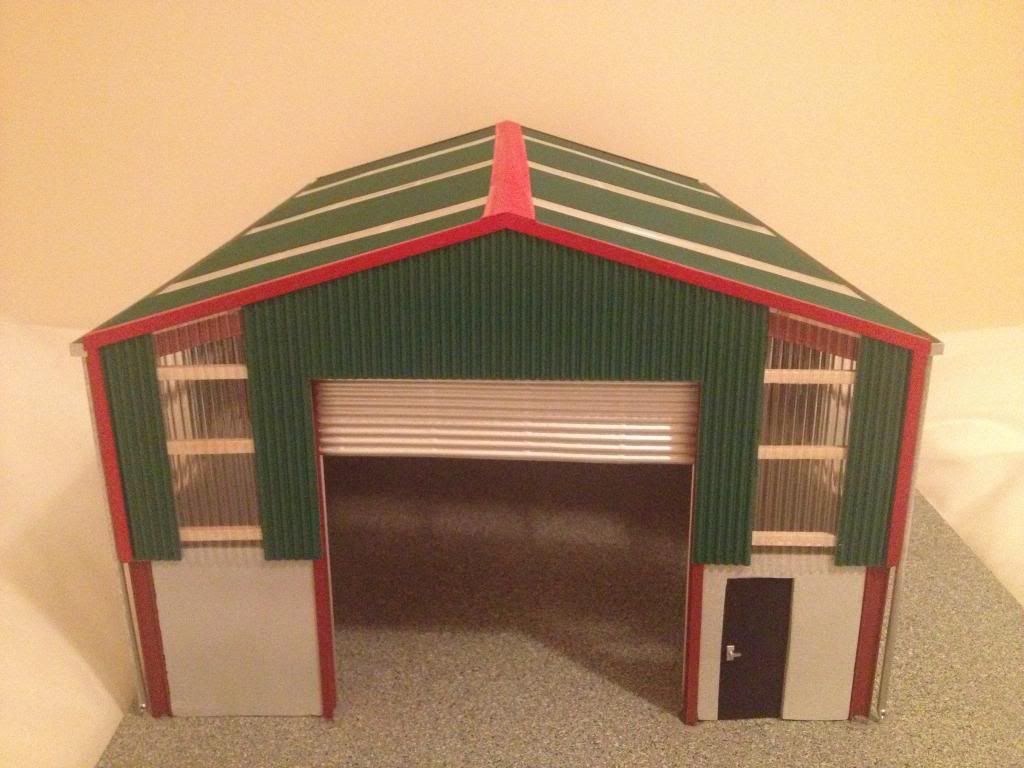
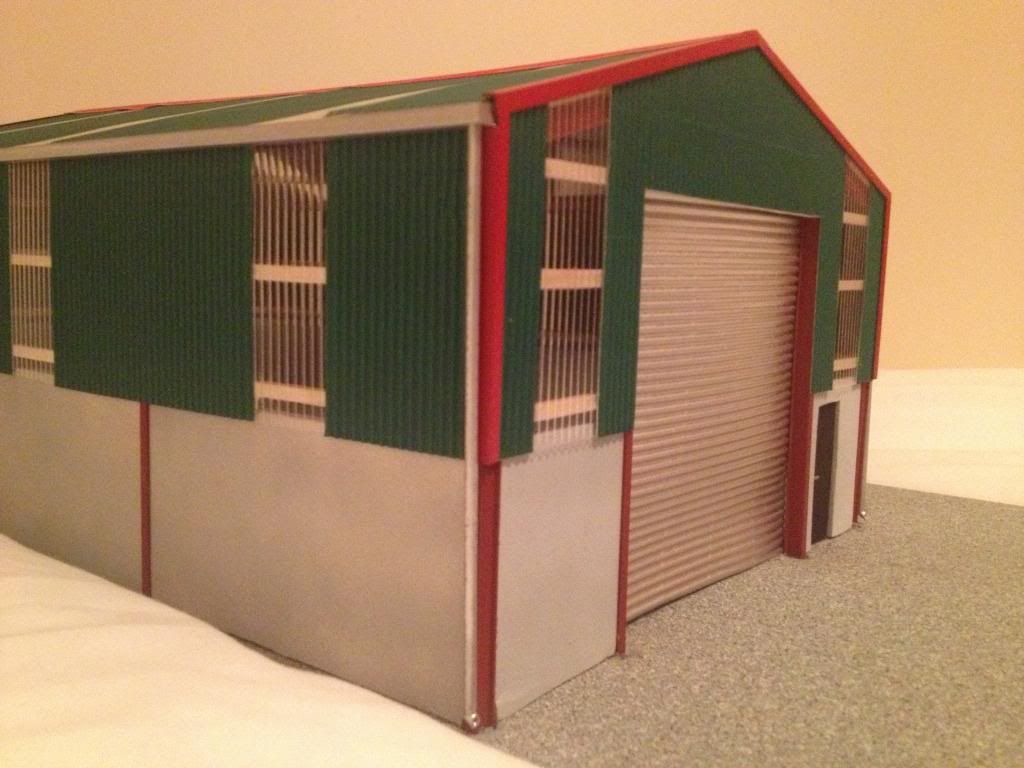
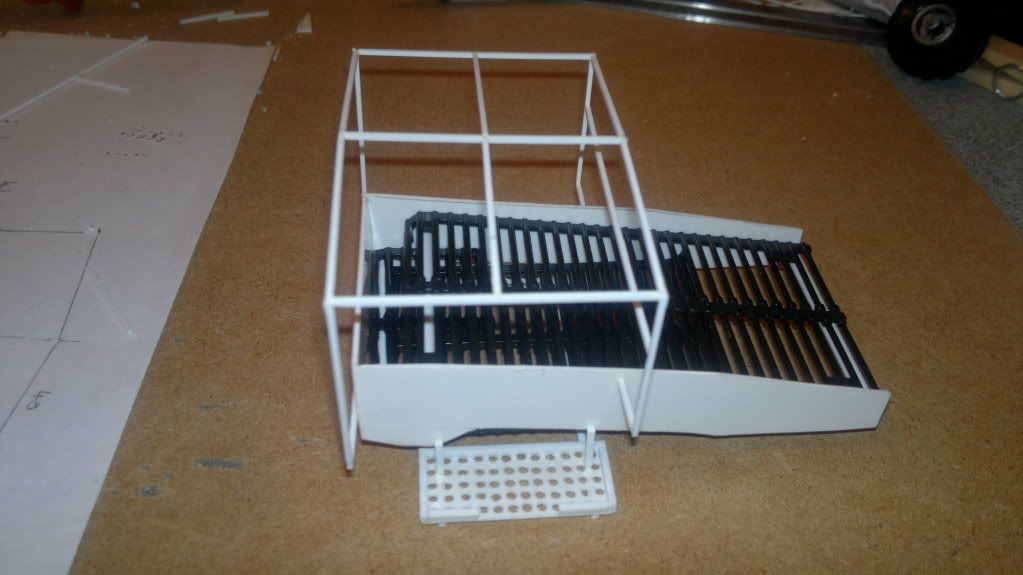
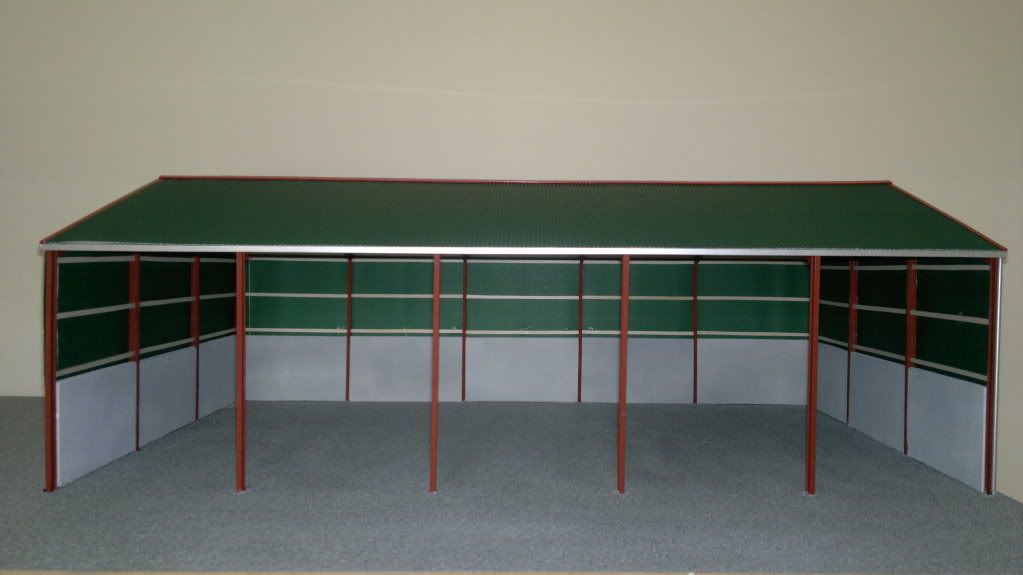
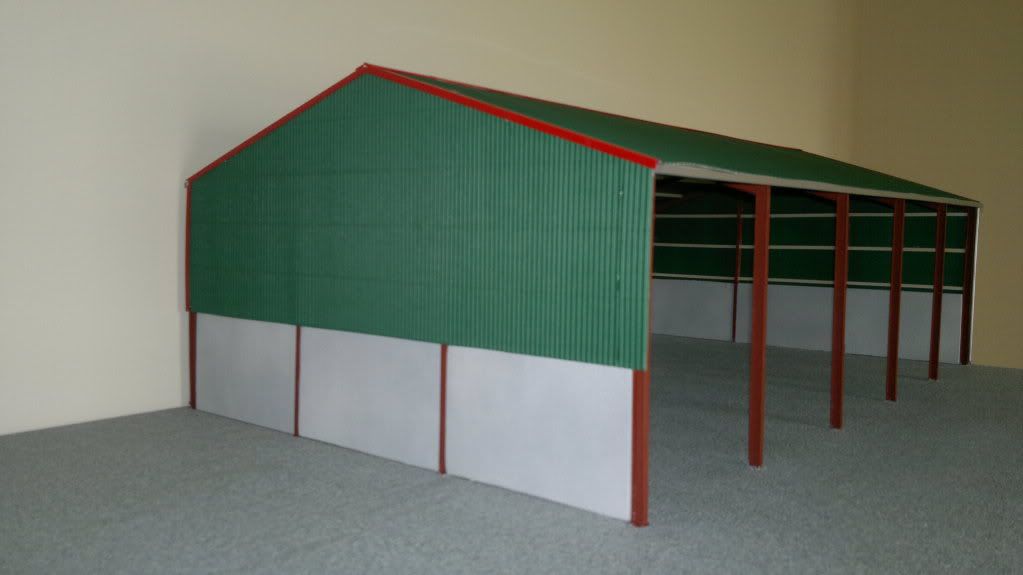
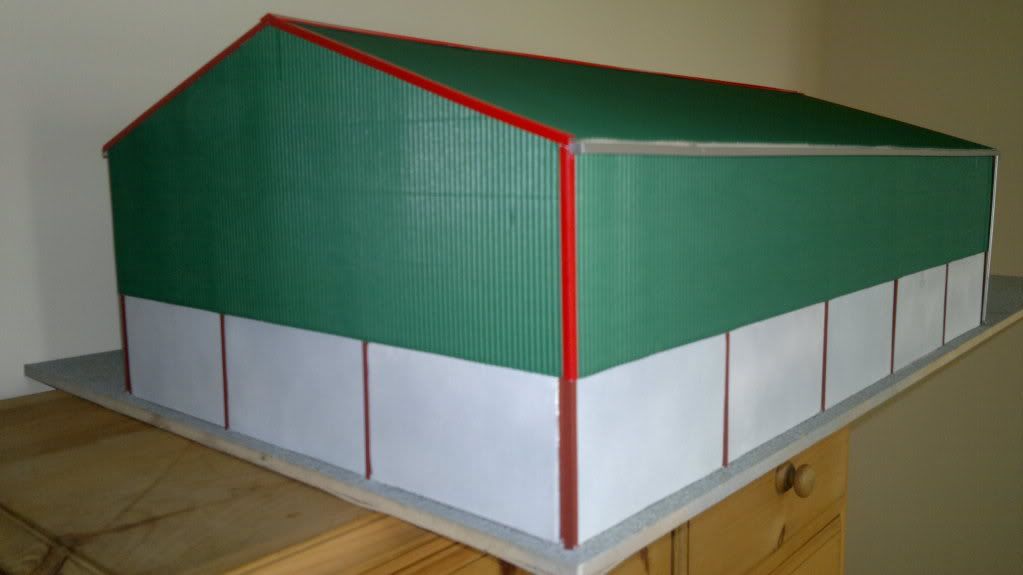
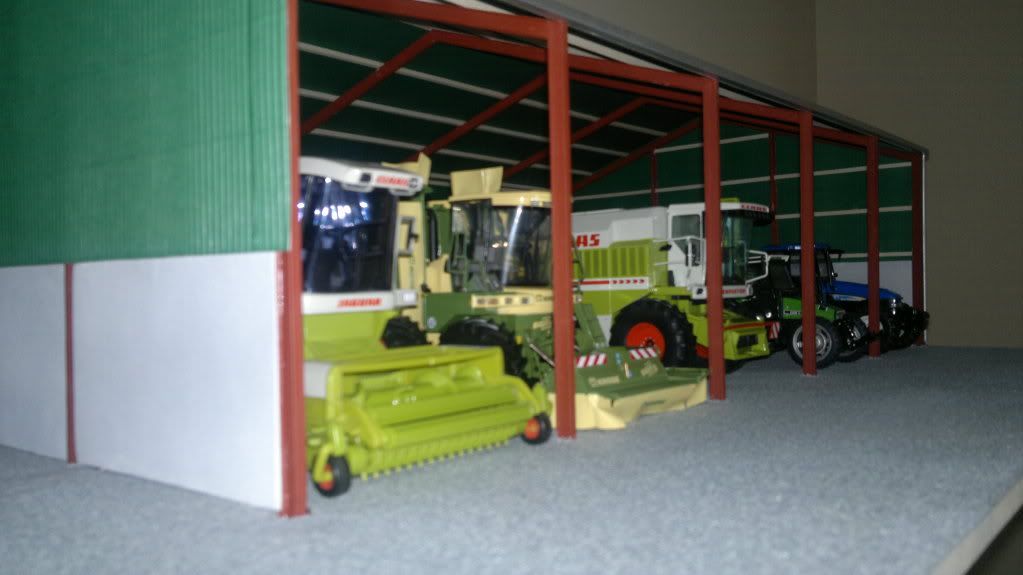
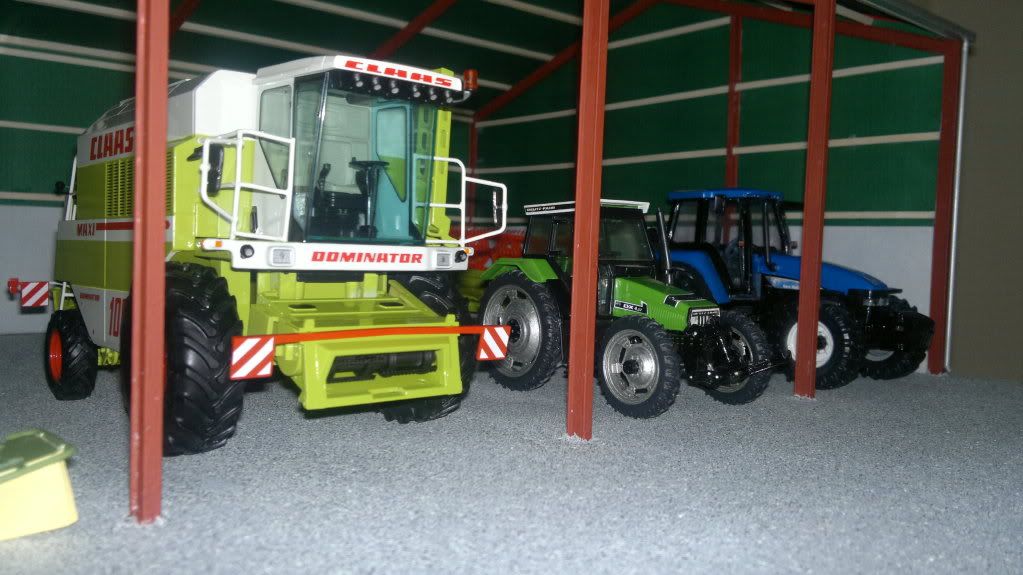
Here's some pictures of a workshop that I finished making yesterday.

-
2
-
-
I'm not sure, I thought they bought a self propelled after getting a demo machine last season. We were working round Ardler and west Perth.
-
Nice photo's Joe. We were over in your area carting tatties, just got finished on Tuesday. We met a lot of Ballies trailers on the roads.
-
Great work Dom, looks just like the real thing!
-
This is a work of art. The detail you've put into this is immense.
-
Tractorman810- Yeah it's the heatshrink film. Although I just cut and super glued it.
-
Thanks farmersam. It would be ideal for a rollover cover and it comes in various colours.
-
Thanks guys.
Hillview- I really haven't a clue how long it took. I just did bits here and there when I'd time. Lots of hours involved but it was a labour of love.
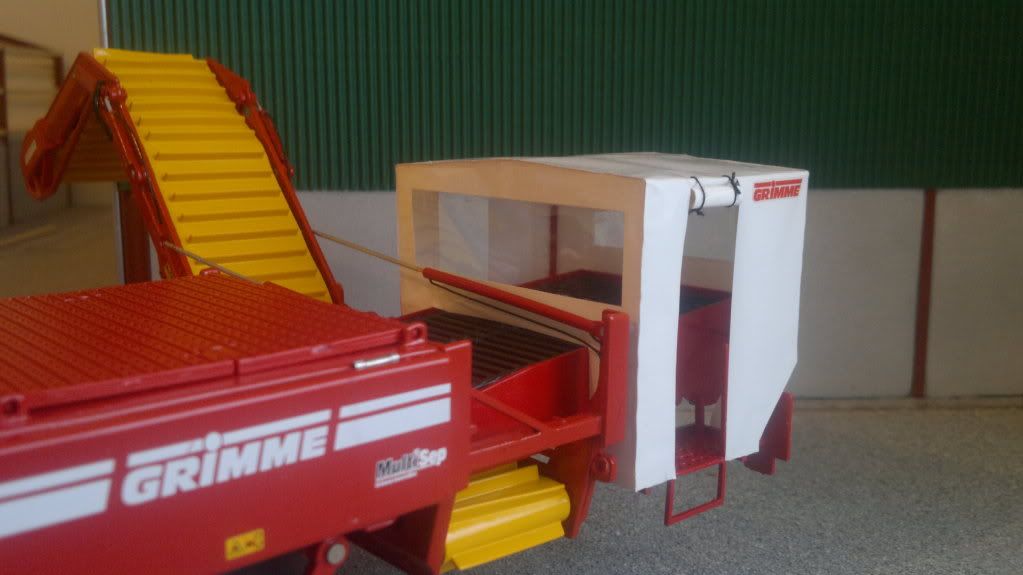
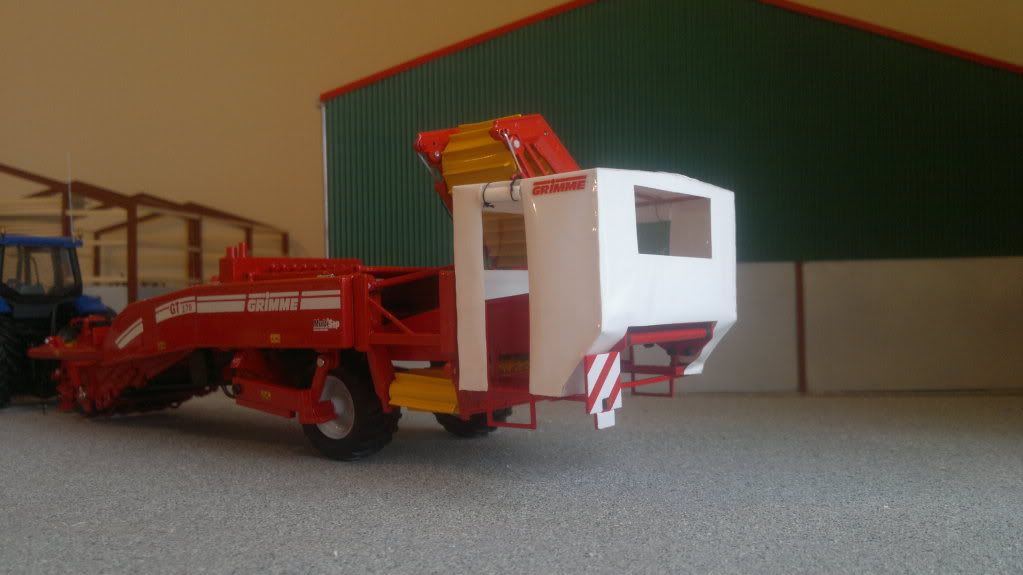
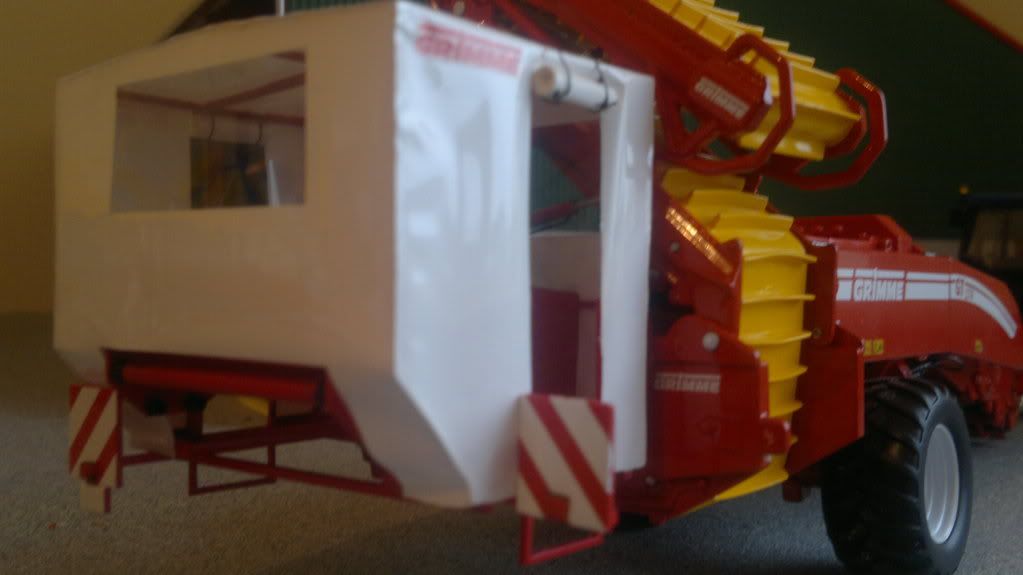
Tractorman810- the cover is film that's used to cover model aeroplanes, I got it from a local model shop. It worked well cause it's nice and thin.
-
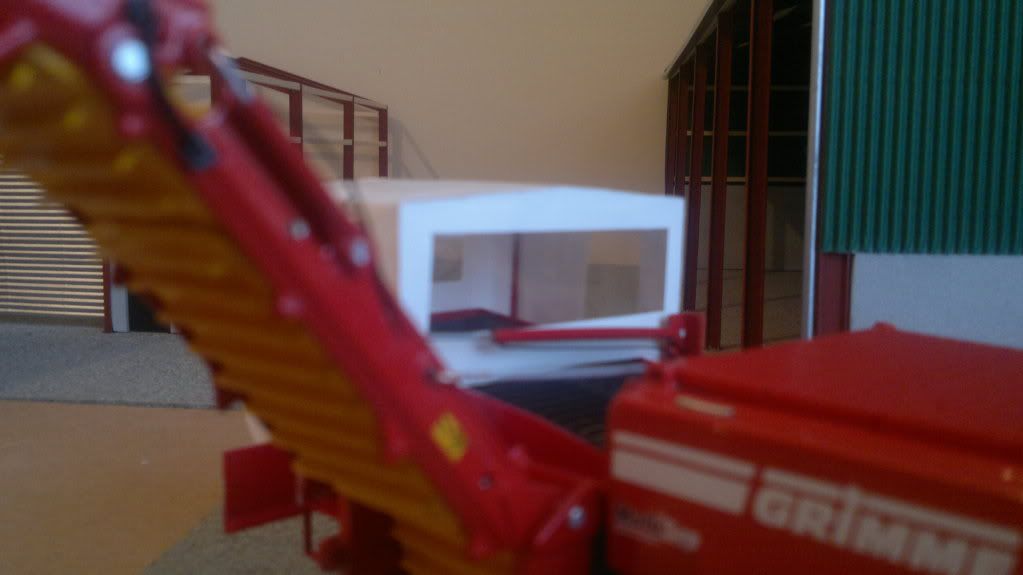
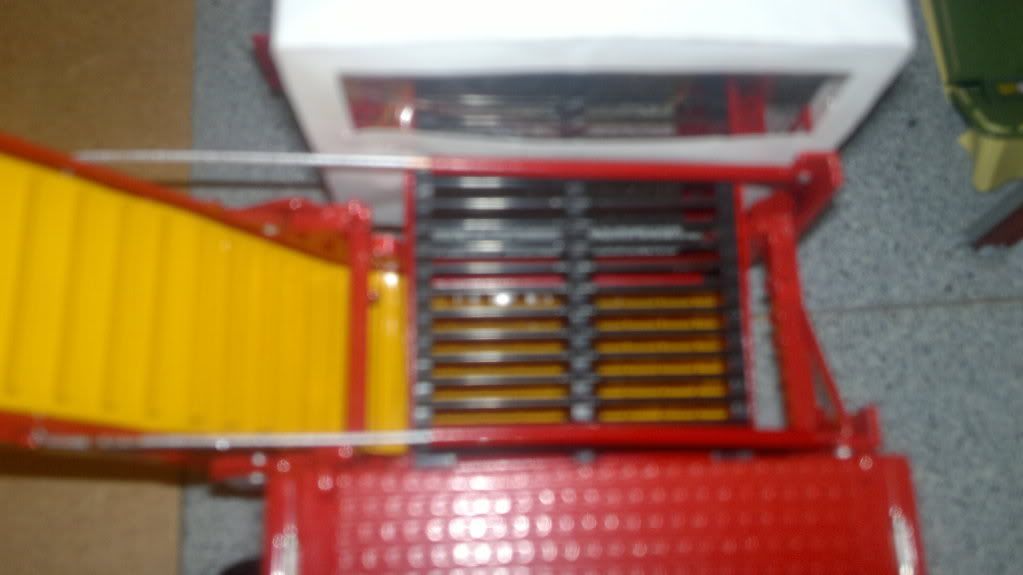
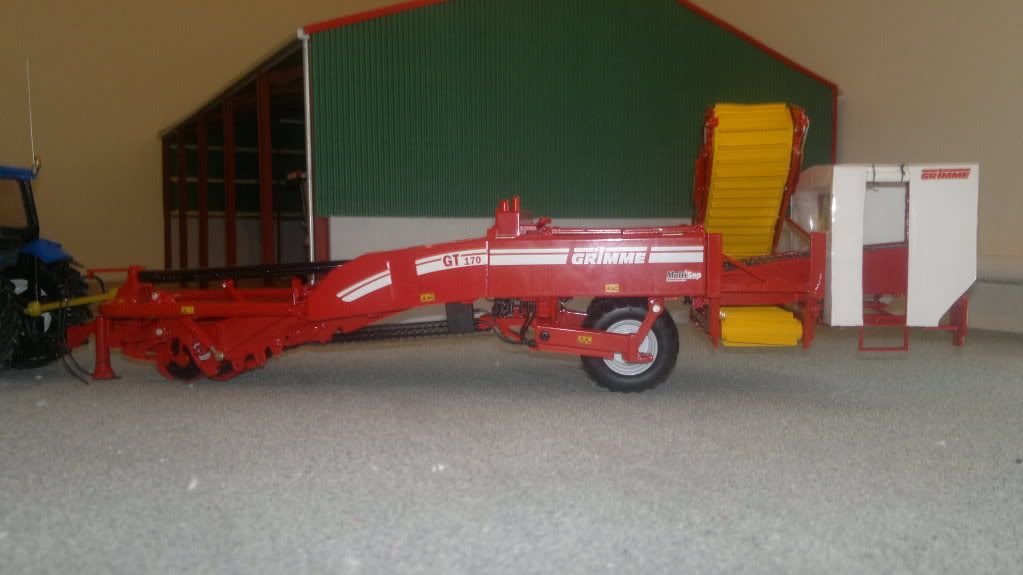
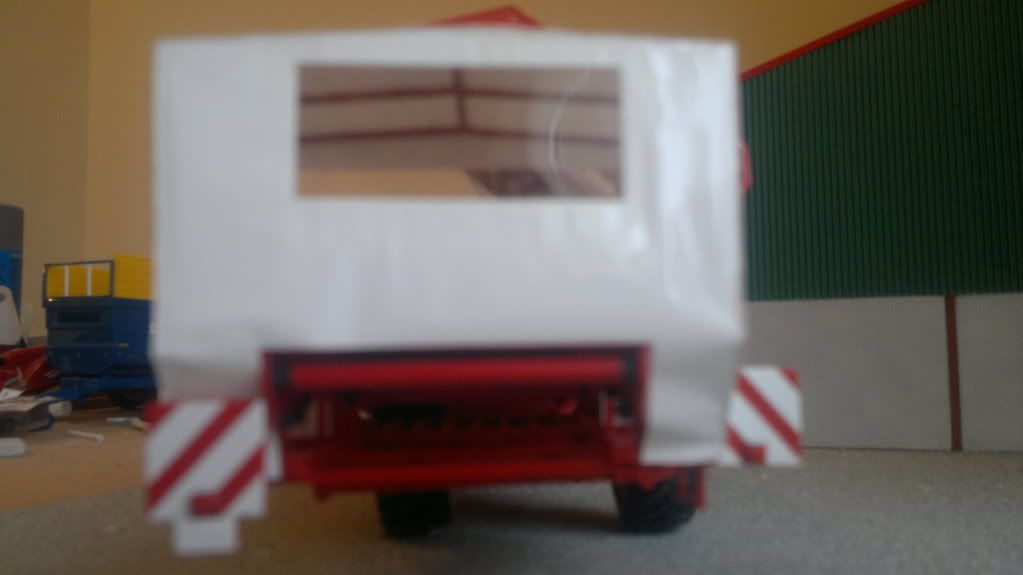
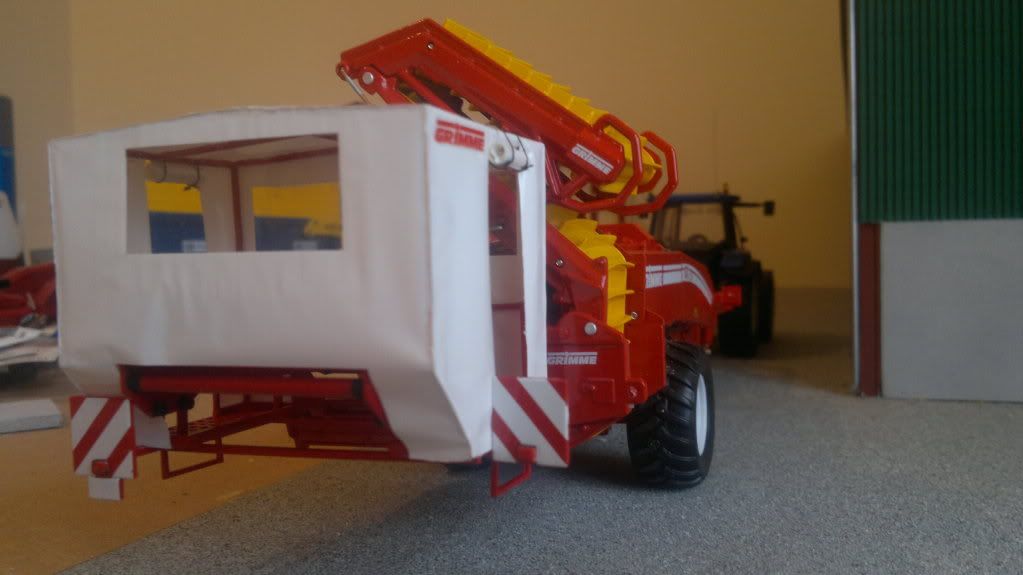
A few more photos
-
I finally got this one finished. I also made new rams for the cart elevator. Here's some pictures.
-
Tulip got one made for the tm in portglenone. He uses it for the plough and buckrake. He was well pleased with it. Not sure wot it cost but it's well made. You'll not be able to use your spool in float cause the check valve won't let it float.
-
very tidy David, is it permanently fixed in place then?? or removable?? . what are you planning to make the cover from to
Thanks Sean. It's removable. I got film yesterday for making the cover with. Its the stuff used to cover model planes with. I haven't tried it yet but i think it should work.
good job davy....this is another of them jobs that i thought id have done by now but sadly time didnt allow as yet,all my time since moira has been involved in a large order for me for some 22 models which will be along later next year and then ill get back to a good headscratcher of a build......what do you think of the ros gt? its certainly nice that there,s a base there to convert upon as starting from scratch would really consume the days....
cheers brian. 22 models- that is a big order. I like the Ros GT. Its a very accurate model. Although I'll probably do what you were talking about and make new rams for it as this is the only part i see that lets the model down.
-
Thanks for all positive feedback guys
Very nice job. Those footplates look well - accurate drilling.

Thanks for noticing the drilling. Very time consuming but i think it gives a good effect.
Very nice job. Those footplates look well - accurate drilling.
Well noticed Ghost. I still have to measure these on the real machine and then get them fitted before the cover goes on.
-
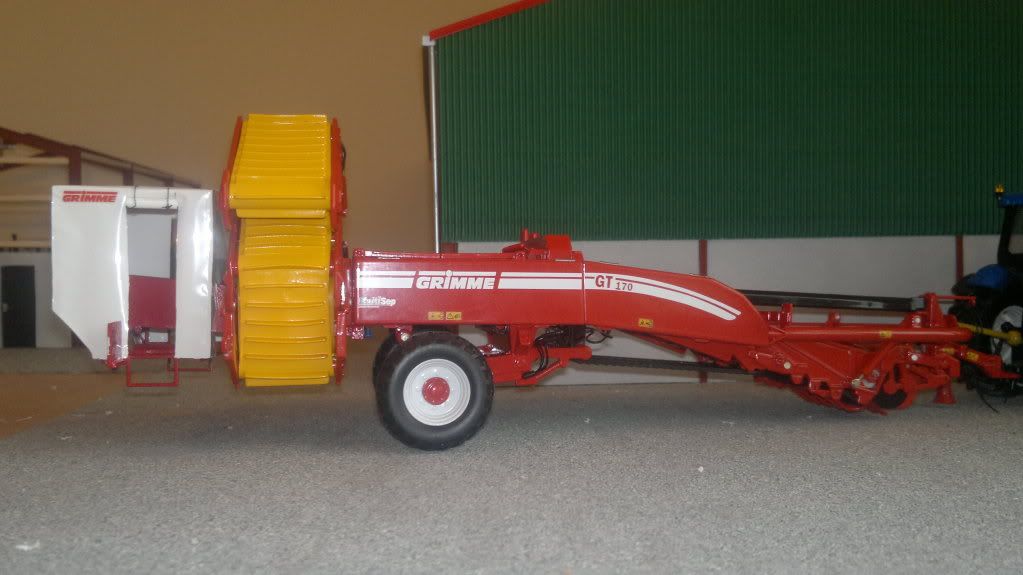
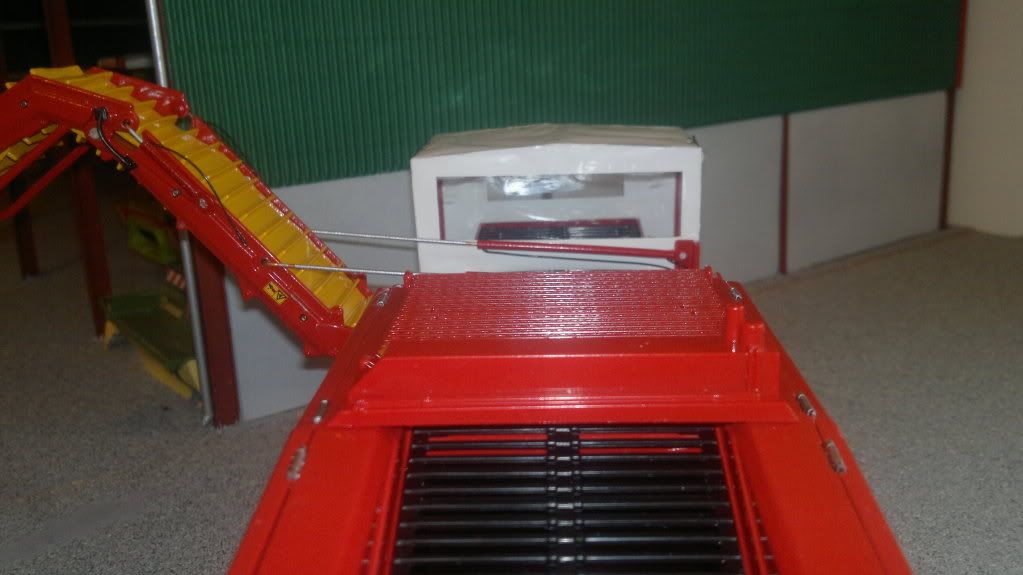
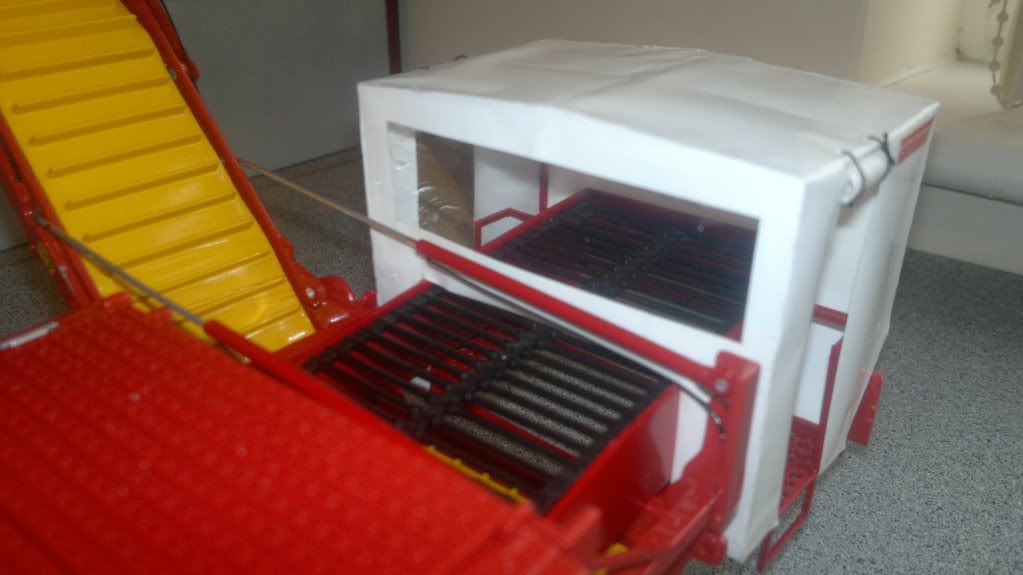
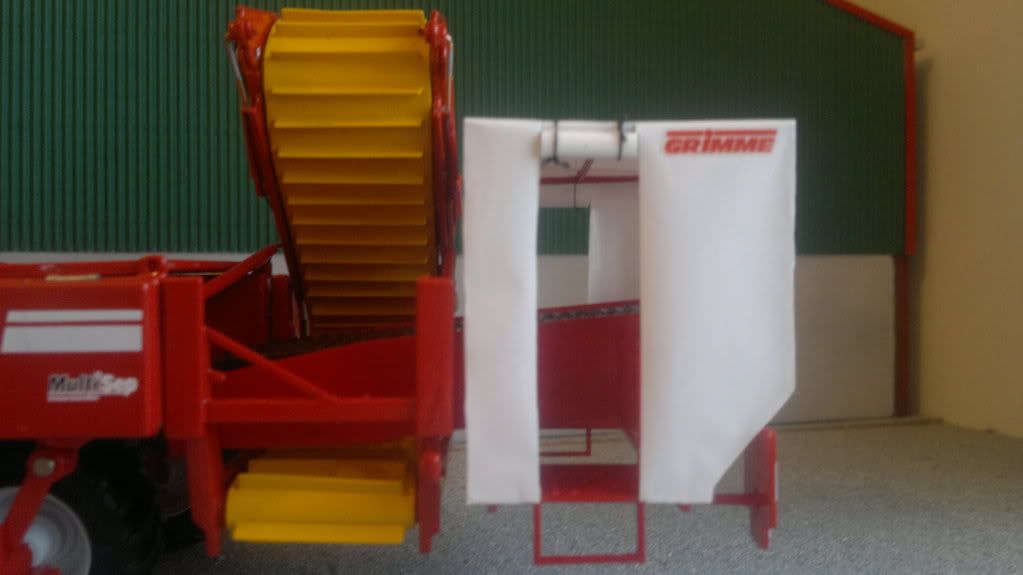
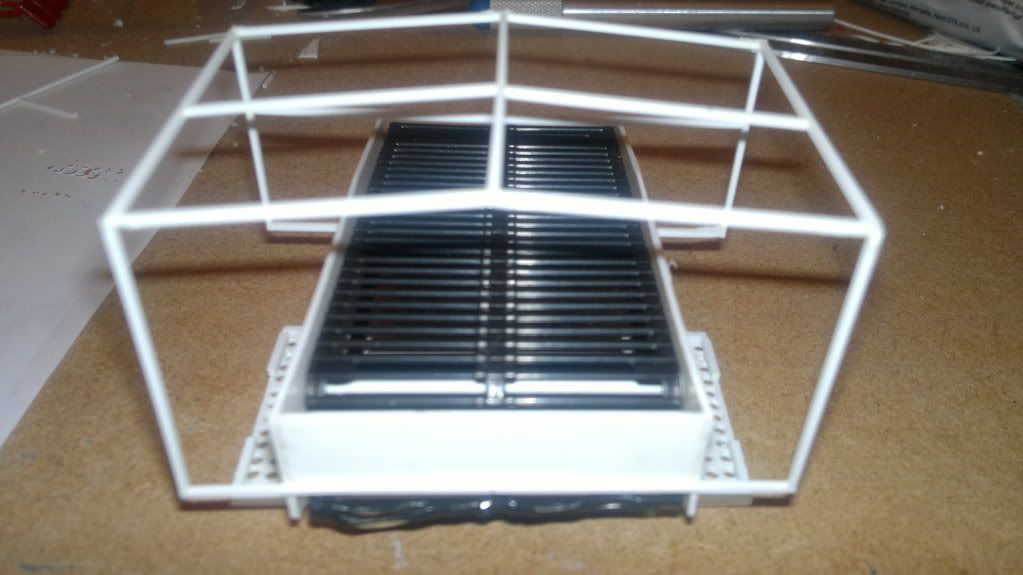
Here's some photos of a picking table i made for the Ros Grimme GT170. It needs another coat of paint and then the cover made for it.
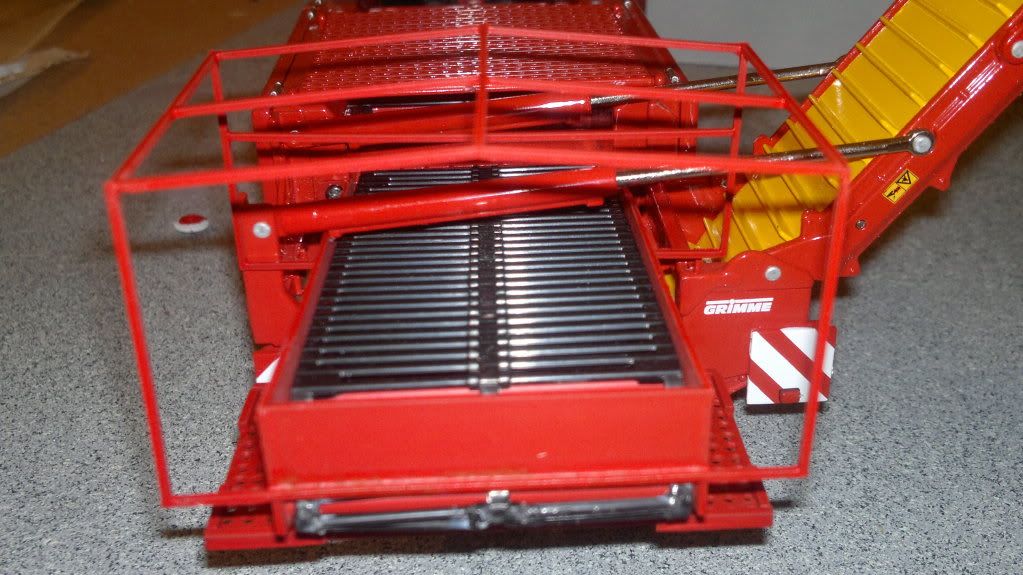
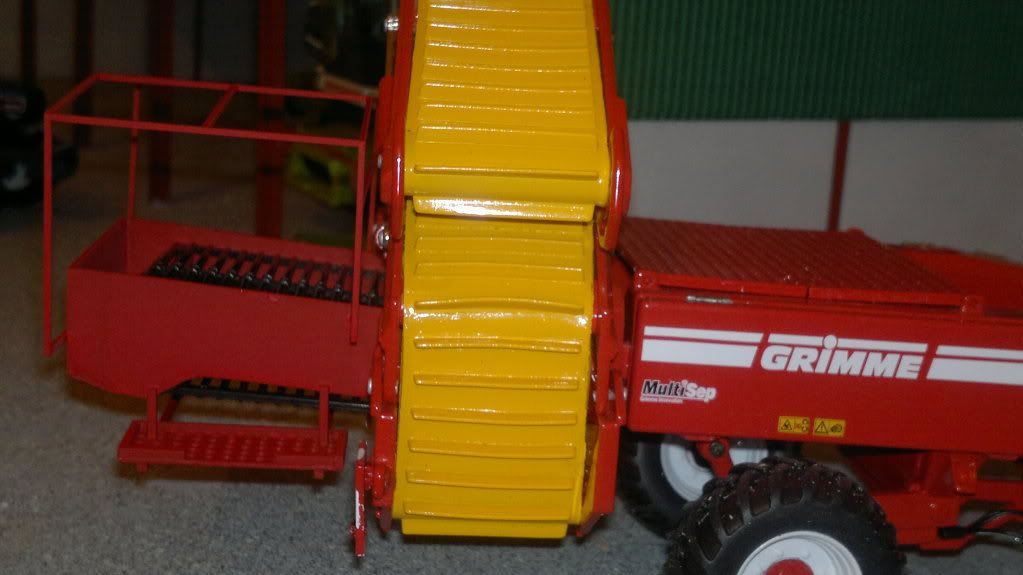
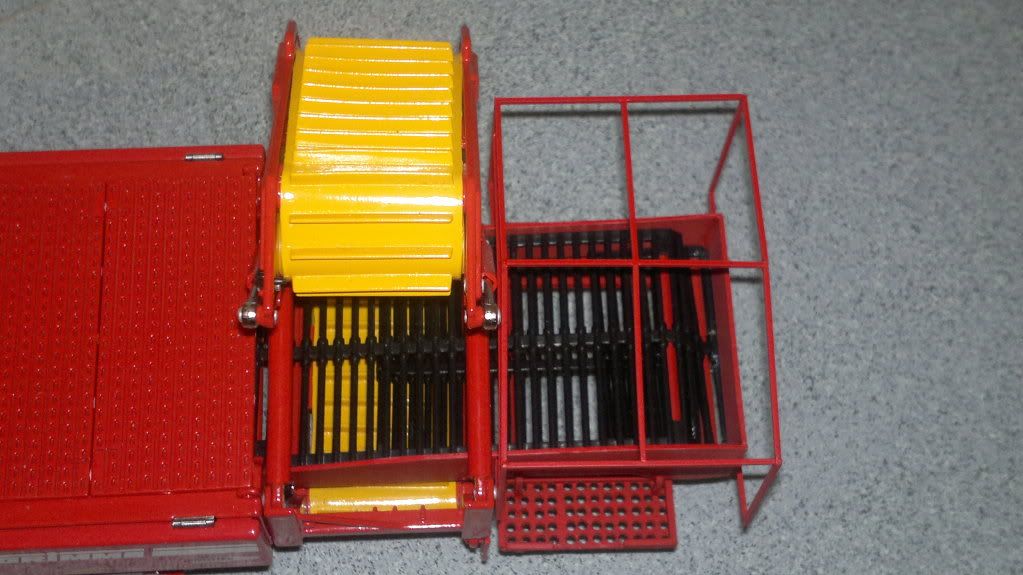
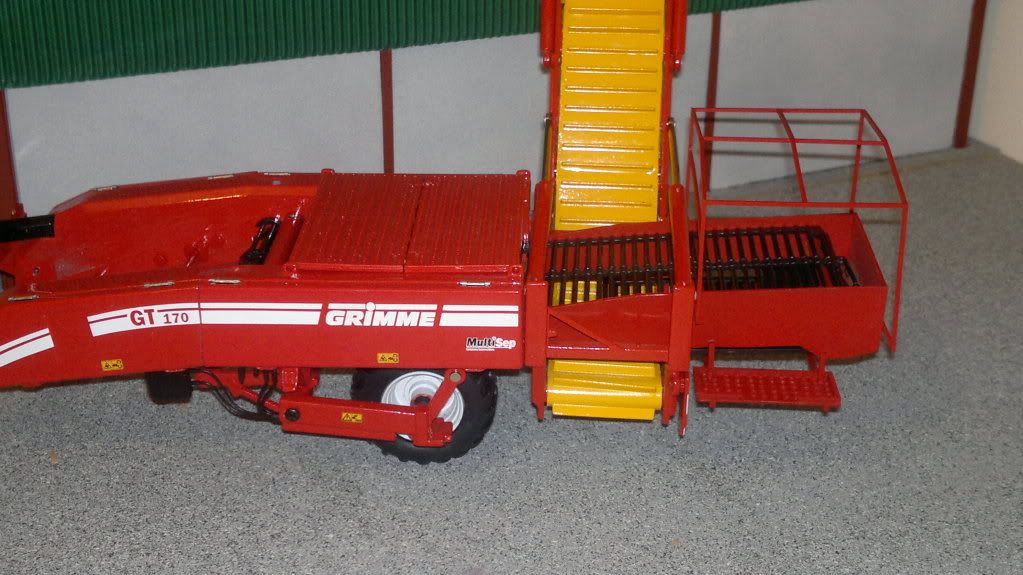

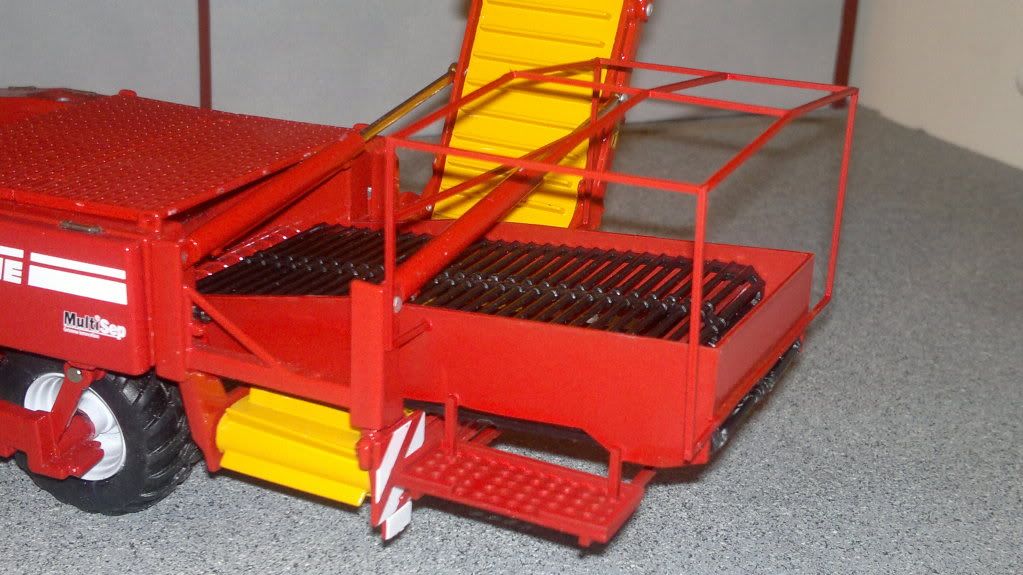
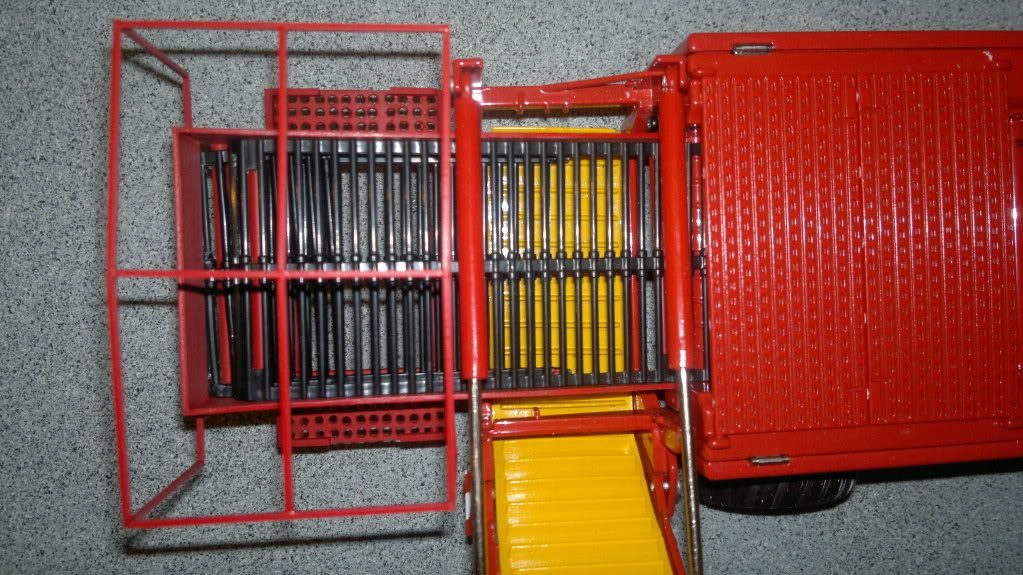
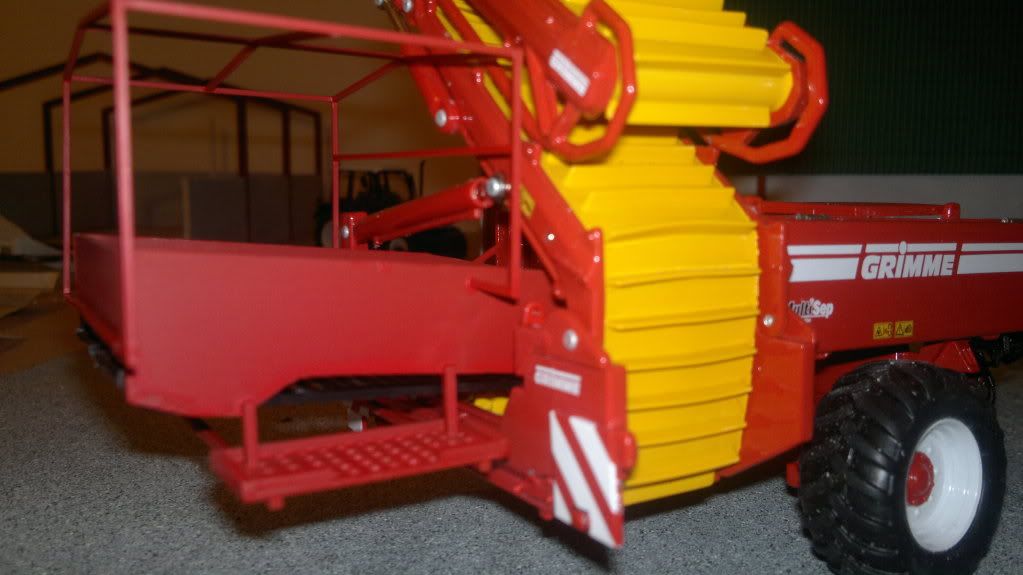
A couple of pics before painting and fitting
-
1
-
-
 Sorry Davy, I didn't recognise your FTF name... who are you in real-life?
How did you find the spray - was it easy to use?
It was dead easy to use. I used grey primer first and then got the desired effect first time. I'm David Croskery from northern Ireland.
-
Fab stuff. Looks really well(and accurately) made. What did you use for concrete?
Hi Mandy,
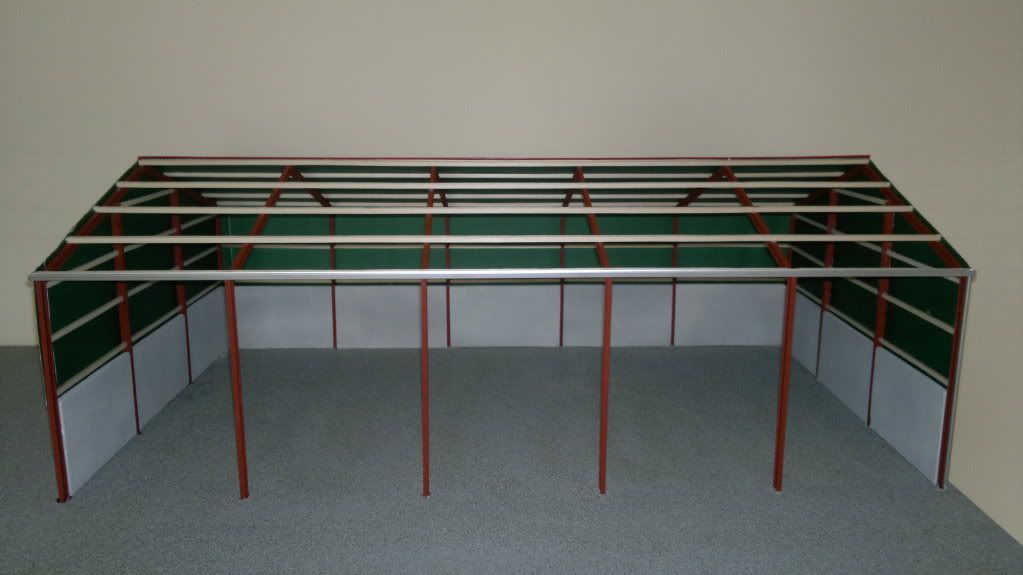
thanks for your comments. I finally got the shed made, most of the parts came from you, thanks for your help. For the concrete I used Plasti-cote stone spray that i got in B&Q.
-
thanks for all the positive comments lads.
 :of :of What a lovely shed well done wish i had one like that
  any more plans to build more sheds
 i'm definitely gonna build more. i'm happy with how this one turned out, i'd like a whole yard eventually.
looks great!!, lovely work!!
:) i recently 'removed' my new shed back to parts!!......the heat had warped the base board so the frame twisted before i could get any further!

that would be very disappointing after putting a lot of work into it.
-
-
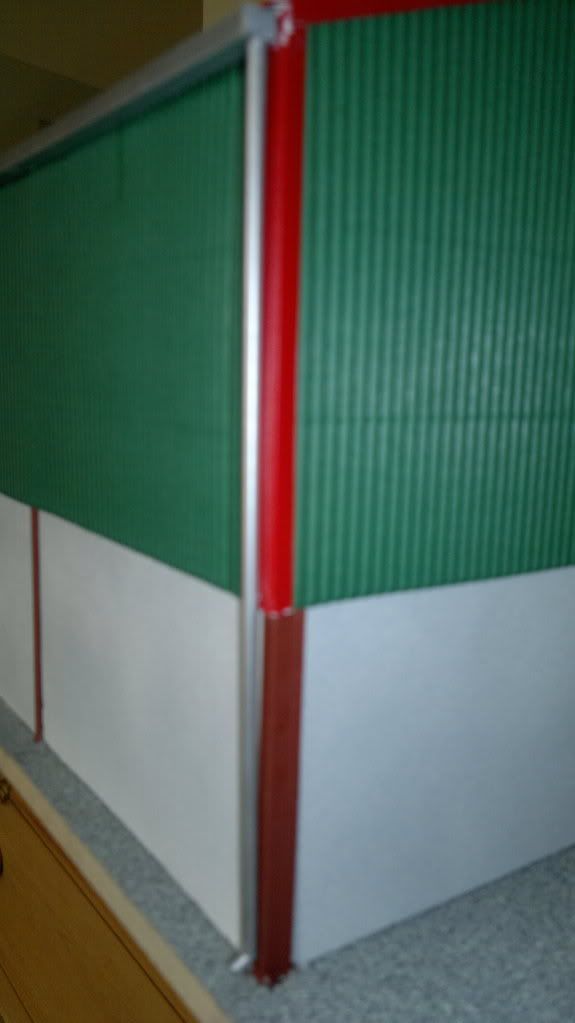
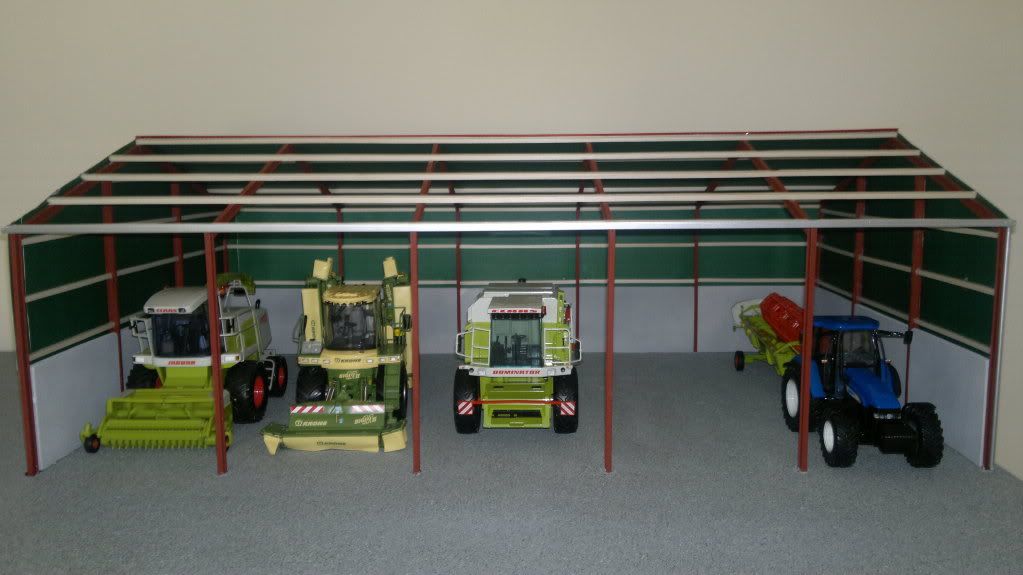
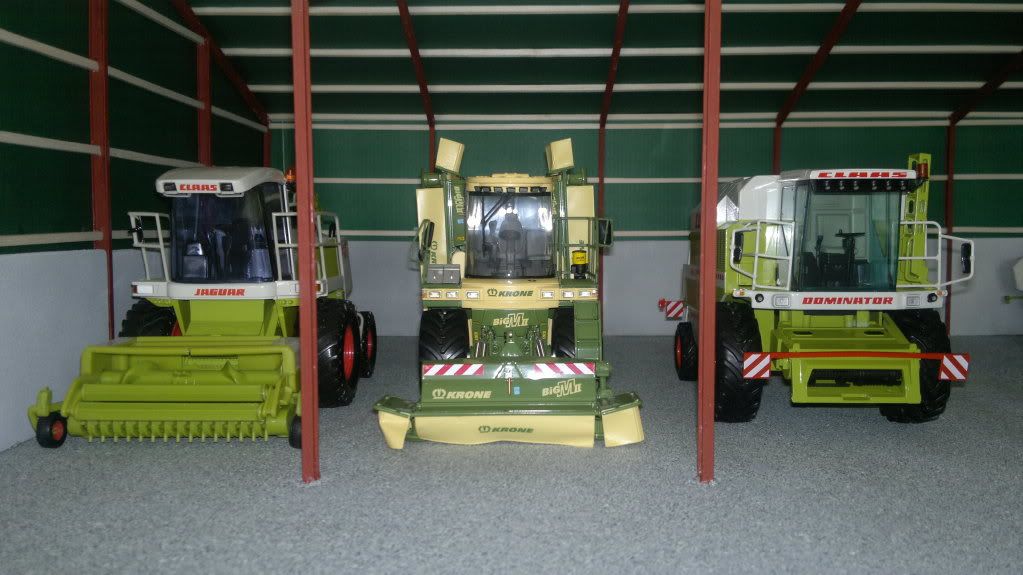
here's some photos of a shed that i made
-
I had everything cut to leave it the same width as the harvester but after looking at yours i will cut it down more to leave it a true 3 meters. where did you get the decals from?how are you getting on david?
-
the reliance in green is the exact same as the 5154 in red just a different colour. Maybe you have plenty of litiature on it anyway.thanks davy but its down to the reekie reliance in the green colours or a combistar 1500 or the later cs1500 model....i am thinking of making 2 of whatever machine i make but that could change due to the problematic nature of the build..i hope to be starting it within 3 weeks


 Sorry Davy, I didn't recognise your FTF name... who are you in real-life?
 :of
:of  any more plans to build more sheds
3-Bay Workshop
in Model Farms & Layouts
Posted
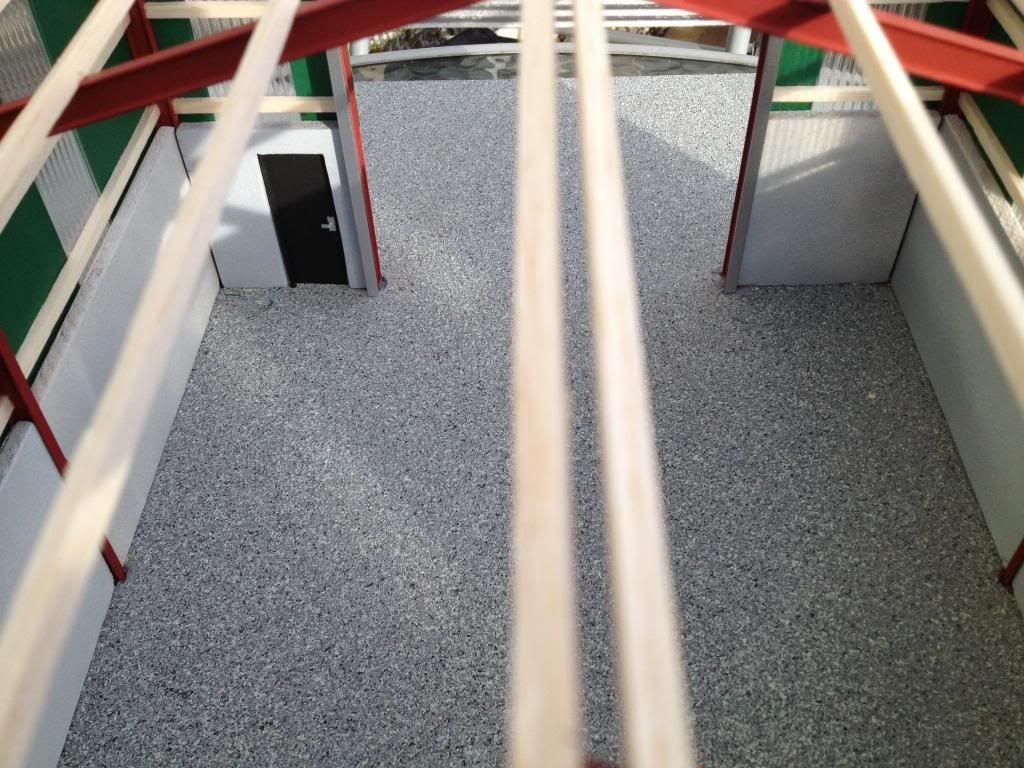
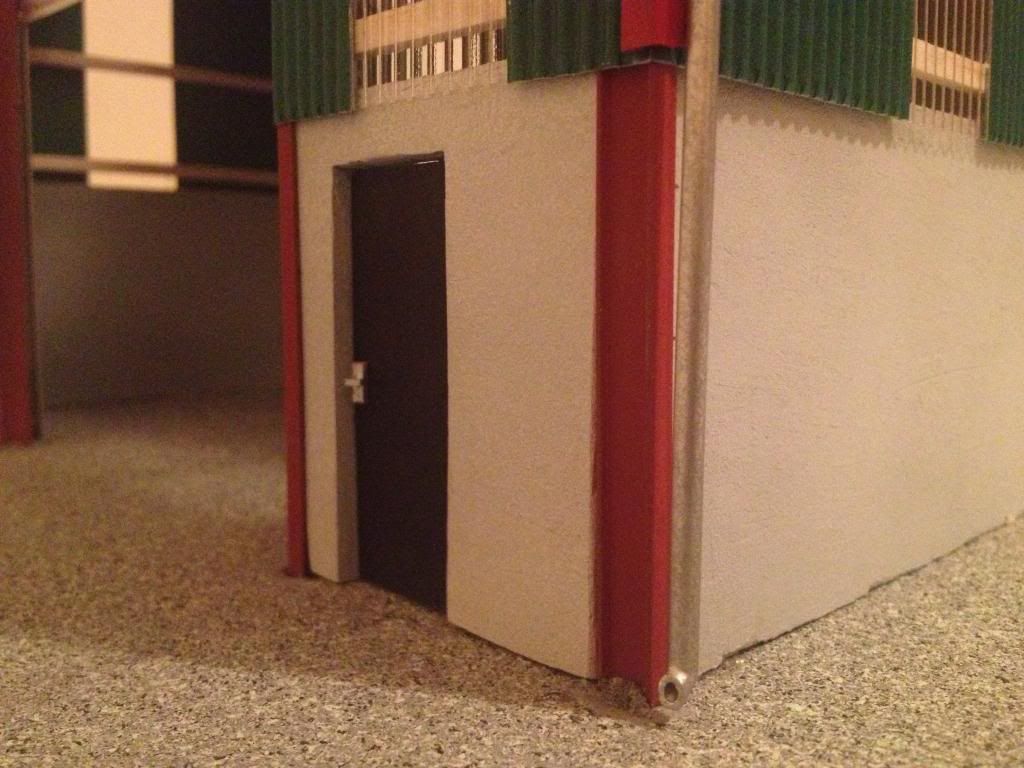
Thanks a lot. The backplate is 1mm plasticard, cut into rectangle and the actual handle is 1mm square plastruct rod.