


FarmingFarmer2468
-
Posts
76 -
Joined
-
Last visited
Content Type
Profiles
Forums
Store
Events
Posts posted by FarmingFarmer2468
-
-
Yes. I have been very busy trying to get my layout up and running..... The next stage is to sort out the field and put the gravel track on the side....
The gravel track will the lead to another base board which i have already prepared.
-
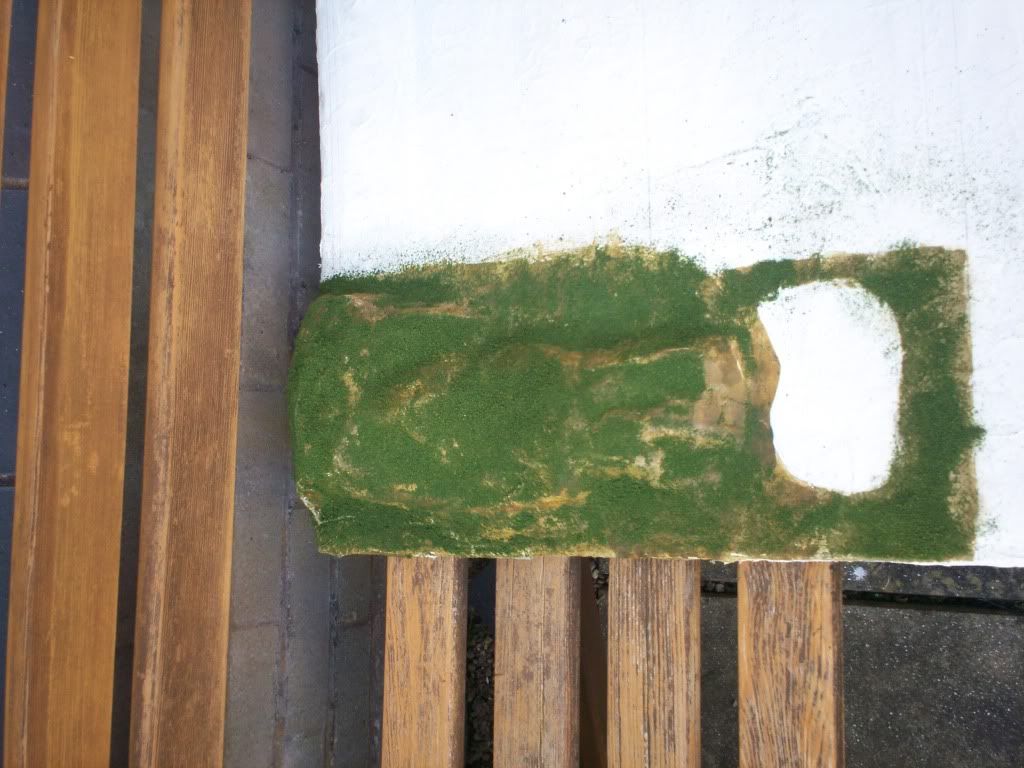
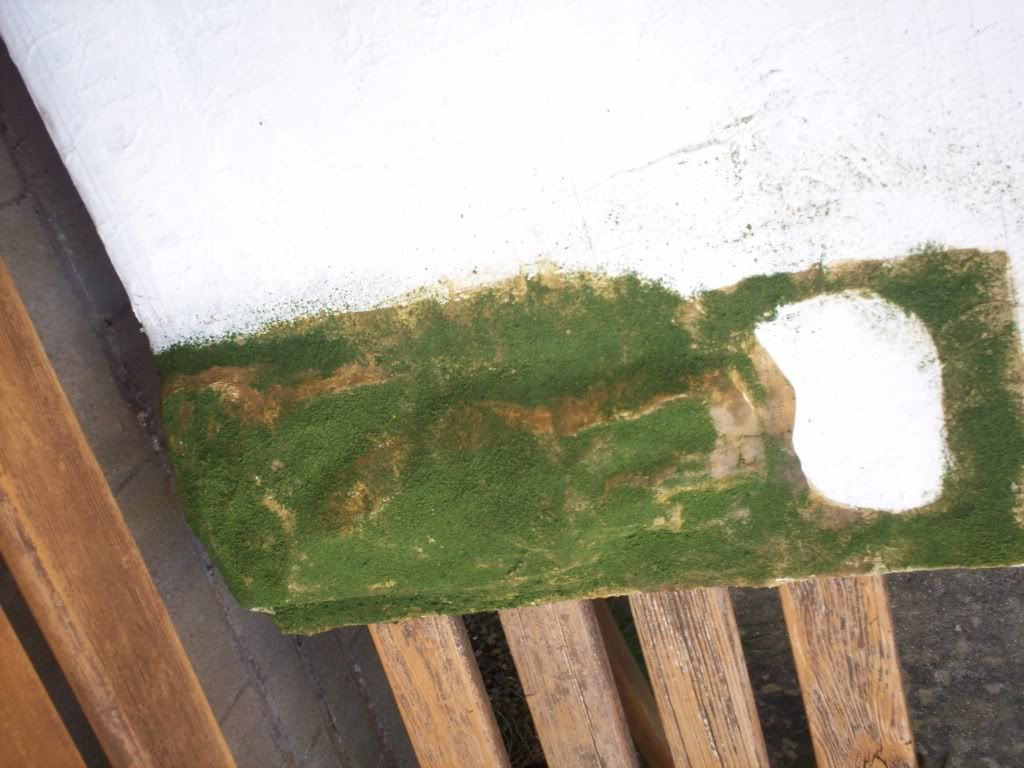
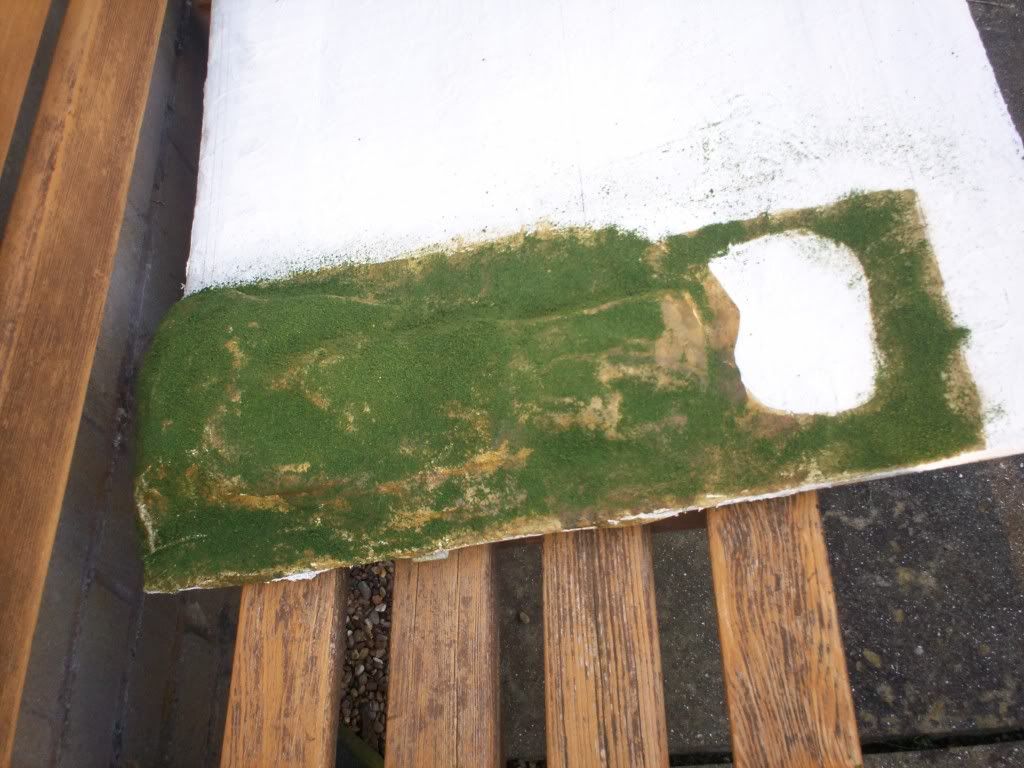
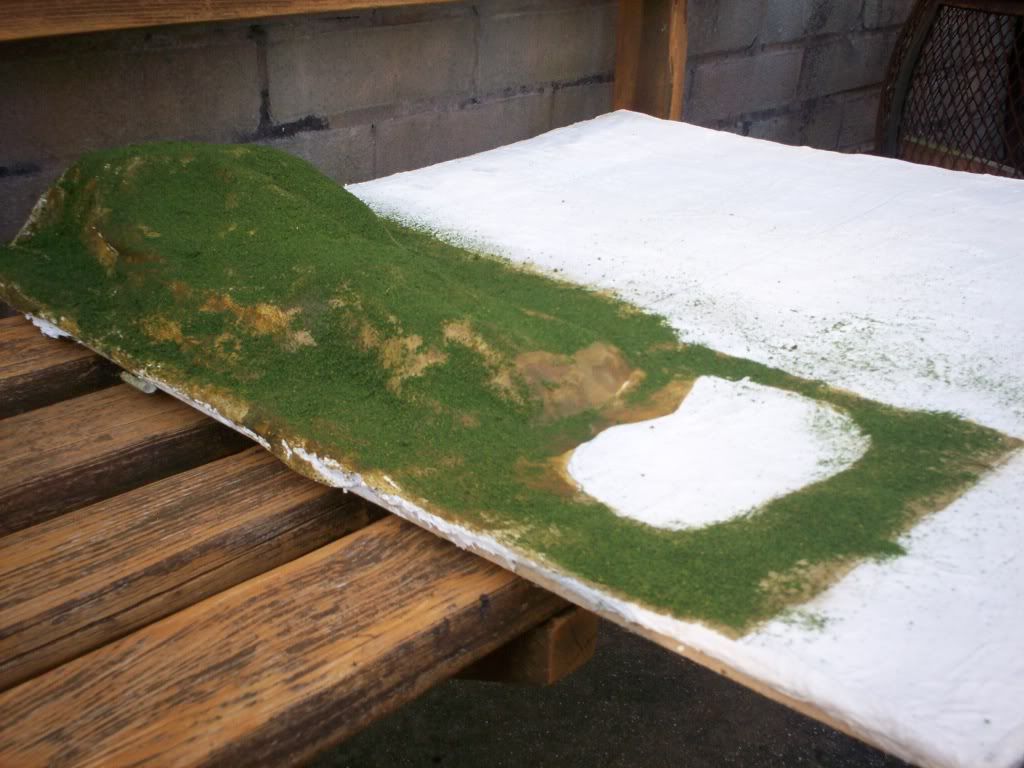
I have just done the road and field. I need to buy a different shade of yellow to layer over the existing shades of field to add texture and make the field more realistic. Here are the current pictures:
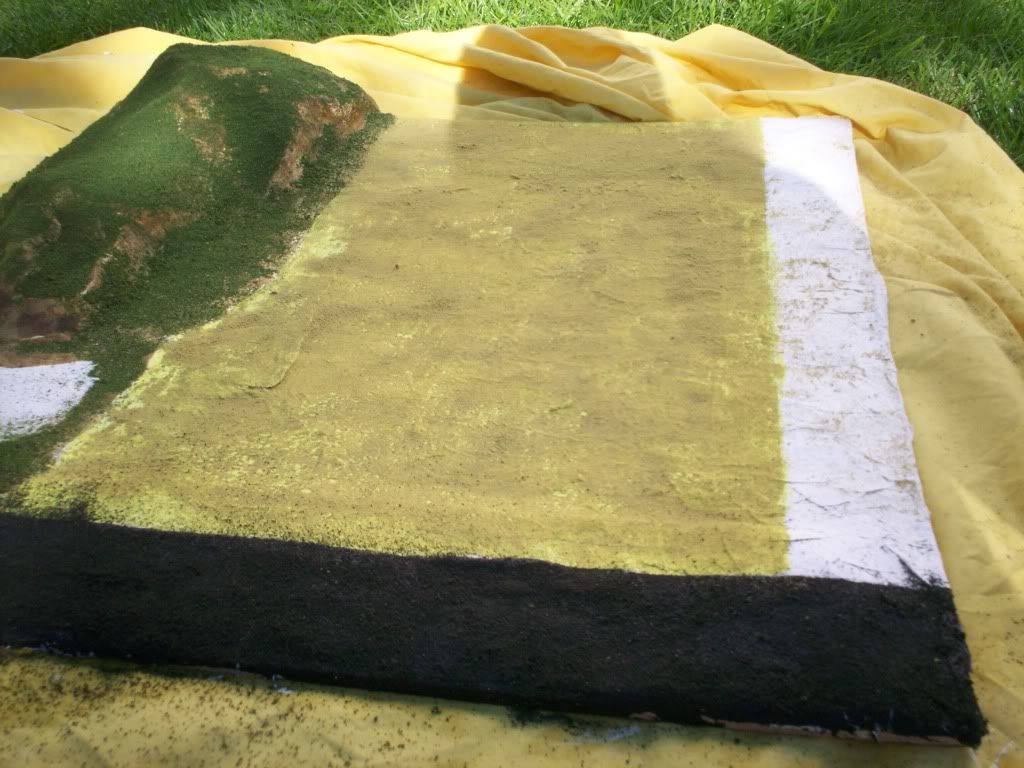
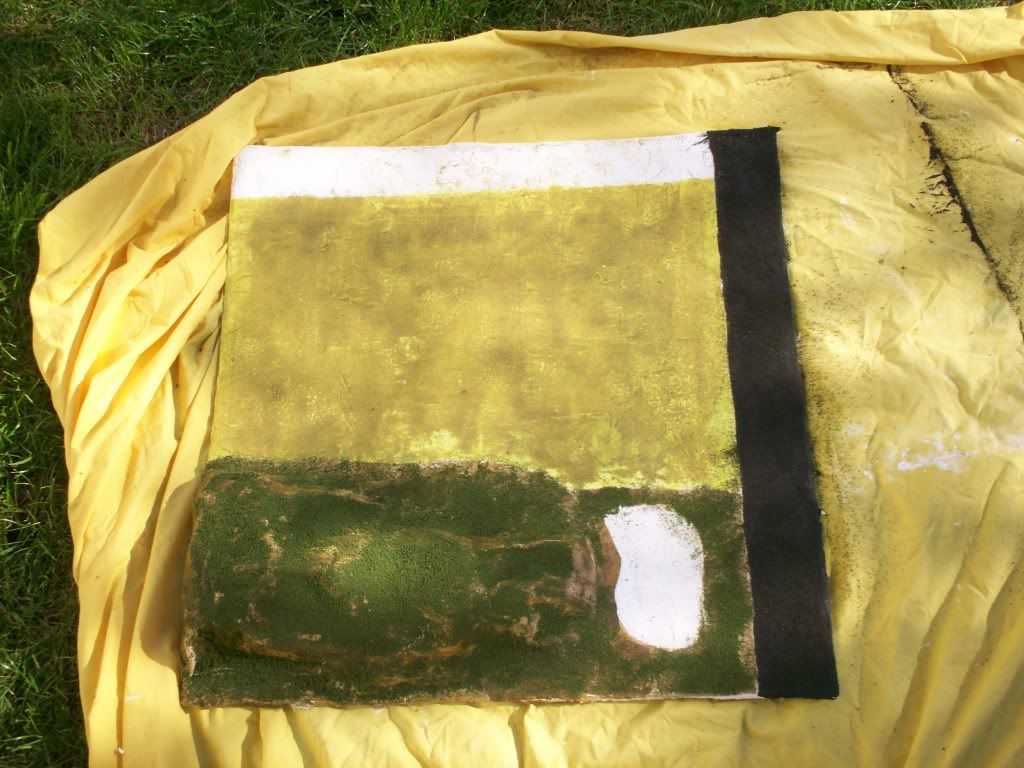
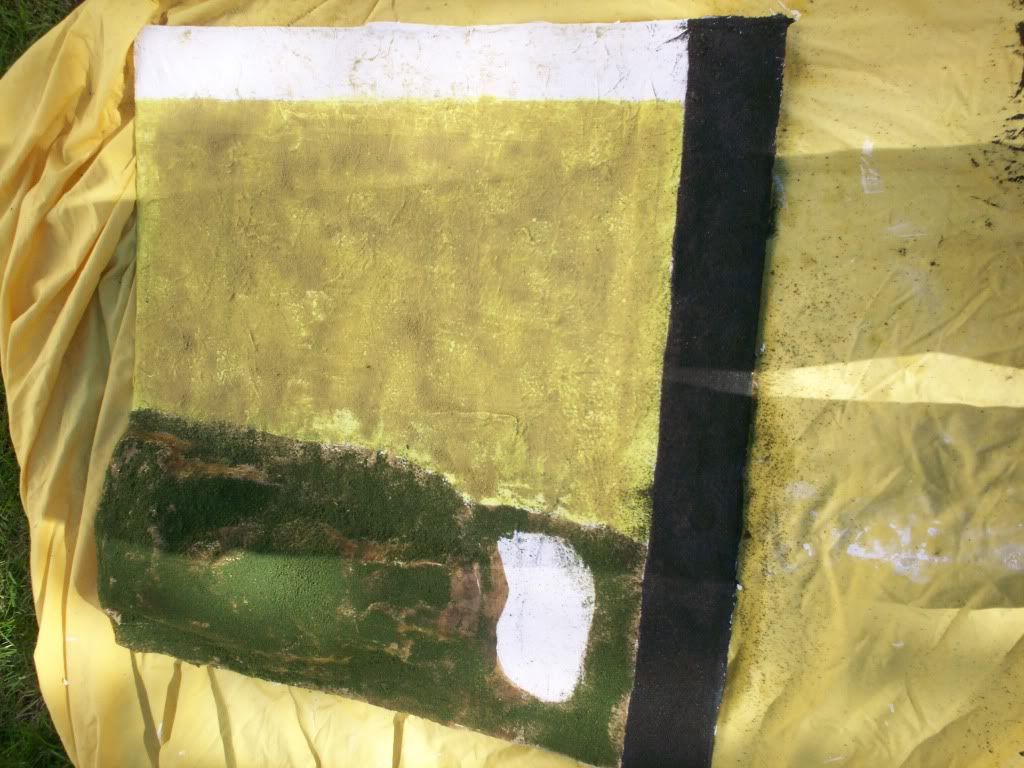

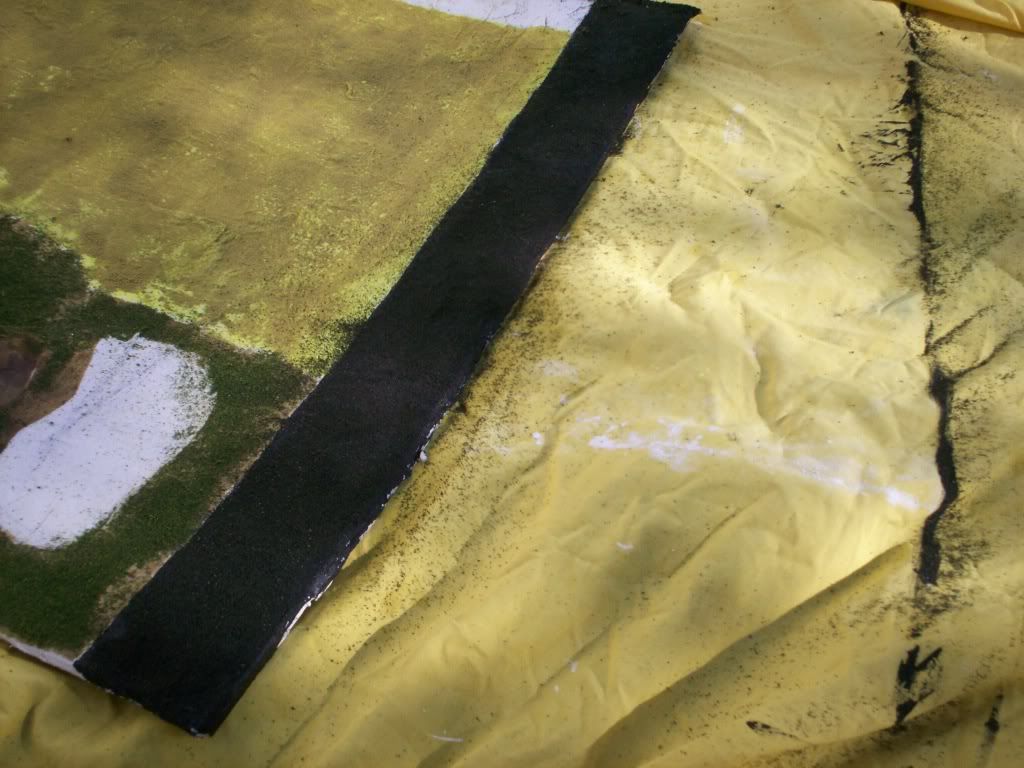
What do you think?
-
Next thing to do on my farm is to put the main road in. Want to make the most of the nice weather though so will probably wait until the nice weather has gone until I do my road!

-
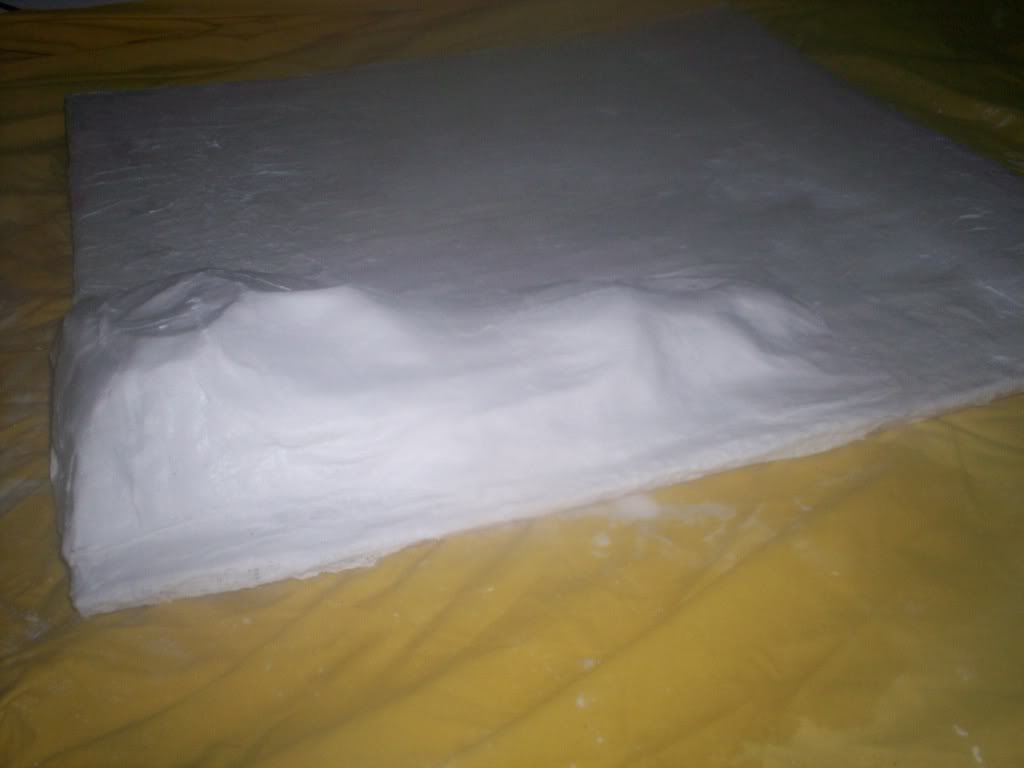
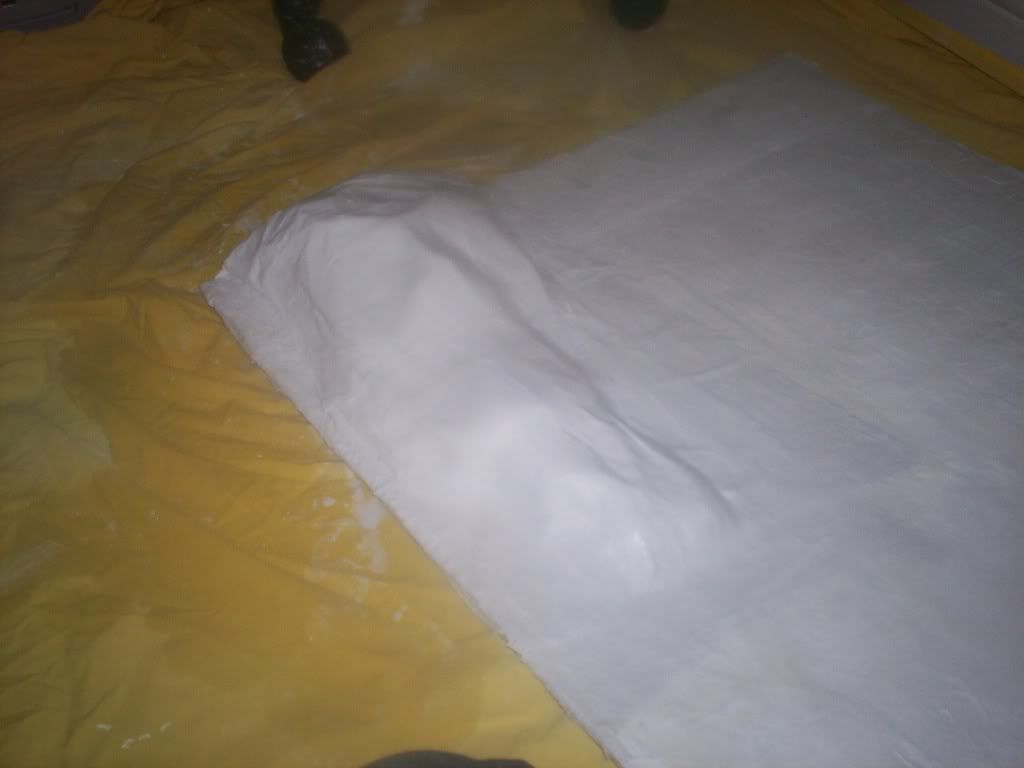
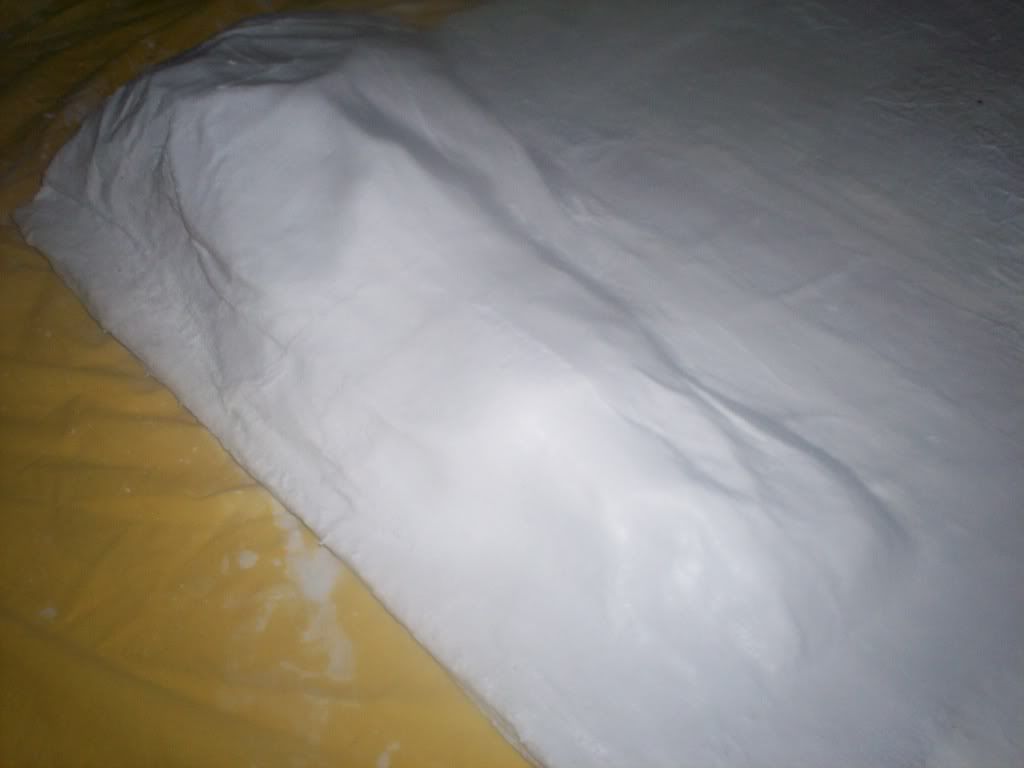
For the hills I scrunched up newspaper and put plaster cloth over the top.
-
Thanks. Well.... I suppose that when you ask what part of the display it fits into you are referring to the layout. If so then this is where the majority of the rocks, mountains and greenery is going to go. Shrubs, trees, bushes ect. As you probably know I have two boards (60cm x 60cm). On the current board it will feature a Arable farmland a pond and greenery. And on the other board will be a yard, farmhouse and livestock fields. Cows, sheep ect. When I've finished them I'll probably add additional boards that can connect to the layout.
I was actually very surprised at how well the hill turned out. Even though as I said I think it looks more like a rock than a hill! (not that I'm really bothered because I'm actually pretty pleased with the effect considering it was my first attempt.)
-
Ryan you can add a link that shows the photographs on this page from Photobucket. I think it is the link in the bottom box of options when you click on it on your Photobucket page.
Thanks. As you can see it worked!
-
-
Just to let people know the empty white circular section at the bottom is going to be a pond.
-
Decided not to add another layer of plaster cloth and have just landscaped the hill.
I used woodland scenics undercoat, and then sprinkled on the grass. To finish I sprayed over a layer of woodland scenics cement.
Here are links to the finished hill:
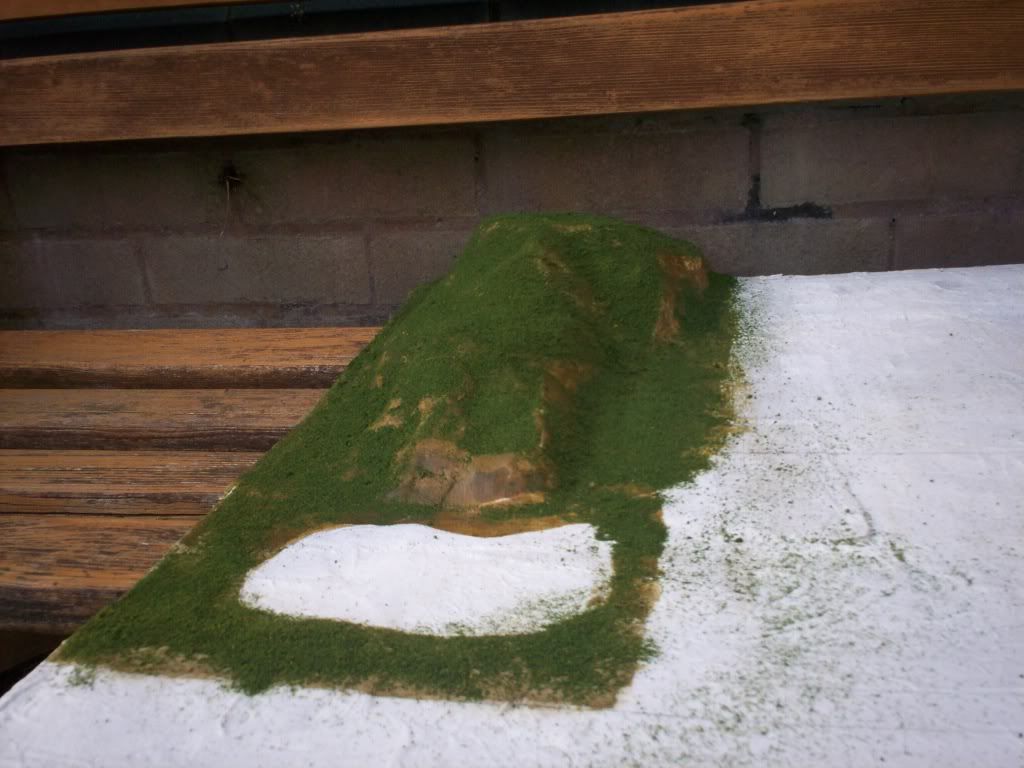
Must admit it looks more like a rock but I am delighted about the result!

-
I have decided that I am not going to put another layer of plaster cloth over my hill for the time being (already got 2). Will see if it needs a third layer after the current layers have dried.
-
Thanks for the tip about the water. Could have caused myself un-needed hassle if I hadn't of known about the water. Now I know that i'll definatly use magic water. Not to mention that having to keep re-doing the pond would've been time consuming.
-
I think instead of rushing into putting the ground cover on the hill I might just add another hill down the bottom end of the current one just to even things out. What do you think?
-
Thanks Pete. The only past experience I've had with plaster cloth was at school when we made these masks in art. Can't say it was my favourite material back then. Must be one of those things that you don't like at first and then grows on you

There should be more pics as I start landscaping it with turf and paint.
-
Jack. Upload your pictures to photobucket. Copy the address of the image, and then post the link here. Hope this helps.
-
Thanks Lady Ferguson. I really like the finished product! I actually plan to have a pond just like this on my layout. Though I have to say that I basically did what the pictures are showing!!! I scrunched up newspaper into a mushroom shape and covered it with plaster cloth. Then I rubbed the plaster cloth until smooth. I have some landscaping materials and brown paint I can use when it's dried tommorow.
I think I might put some hills around the other edges after I've added some fields. Will have to see how much space I have. Though I do have another board primed ready so it wont be the end of the world If I cant't fit any more on this board !
I really like the finished product! I actually plan to have a pond just like this on my layout.
Hope you don't mind me asking, but did you make this yourself?
PS. Oh. and thanks for the tip about using something to seal the boards. Will be very useful for my pond. I think I might line it with some putty perhaps? Or do you think I should only use putty for murky lakes that you can't see through?
What do you think?
-
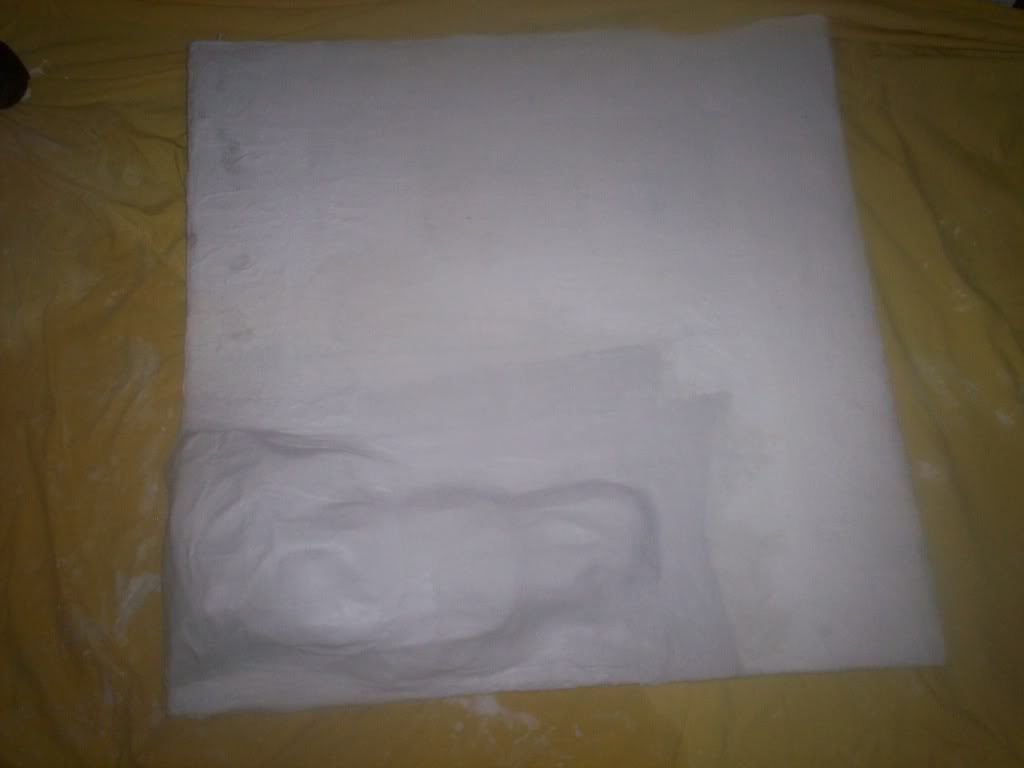
Just finished plaster clothing the hills. High quality images can be seen at these links:
http://i1154.photobu...-Cloth-Rock.jpg
http://i1154.photobu...Cloth-Rock2.jpg
-
Ah... Sorted. Pictures will be uploaded in a minute!
-
<a href="http://s1154.photobucket.com/albums/p535/RG1101/?action=view&current=Plaster-Cloth-Rock.jpg" target="_blank"><img src="http://i1154.photobucket.com/albums/p535/RG1101/Plaster-Cloth-Rock.jpg" border="0" alt="Photobucket"></a>
-
<a href="http://s1154.photobucket.com/albums/p535/RG1101/?action=view&current=Plaster-Cloth-Rock.jpg" target="_blank"><img src="http://i1154.photobucket.com/albums/p535/RG1101/th_Plaster-Cloth-Rock.jpg" border="0" alt="Photobucket" ></a>
-
Having Trouble uploading images :-/
-
I have just finished drawing up the plans for my layout. Would of uploaded some pictures but the camera wouldn't pick up enough detail. Hope to start on the hills after Lunch, then hopefully I can start landscaping/painting them when I get home from school tommorow.
-
Has just been to hobbycraft to buy some plaster cloth and woodland scenic's landscaping starter pack. Didn't want to buy too much of anything without knowing I was confident with using it.
I really hope to start mapping out the layout tommorow, and fingers crossed can make a start on plaster clothing the hills!
-
Just to let people know I'm going to be making my hills and terrain out of plaster cloth.
-
I unfortunately haven't done anything today. And before you ask it wasn't because of laziness! I have decided that it would be wiser to map out my layout on the boards during the week, and then I hope to go to hobby craft at the weekend to get the grass materials and foliage. I also think I'm going to make my hills and terrain out of paper mache or plaster(I haven't decided yet!). I know people can get away with using cheap methods such as using loo roll, cardboard and pva glue, but I feel a good effect using this method can only be achieved with great patience and skill fullness(Both of which I haven't got much of!)
As I said during the week I hope to plan out my layout. Pics will be uploaded as I start mapping it out!


Grange Farm
in Model Farms & Layouts
Posted · Edited by RG110man
Sorry about the lack of updates.... I haven't updated for a while as I simply haven't done anything to my farm since the summer!!!!
However.... I hope to some updates before Christmas, but if not I should have some time after Christmas. Unfortunately though it all depends on how much schoolwork I have