Stabliofarmer
-
Posts
3,467 -
Joined
-
Last visited
-
Days Won
59
Content Type
Profiles
Forums
Store
Events
Everything posted by Stabliofarmer
-
Loving the snow blower, and a great shot with the fuel tanker
-
Work started on the next part of the farm, a traditional stone barn. This will have a two stables and a staircase at the rear, a shippon/byre/cow shed projecting from the front, hay lofts either side of the arch doors and a workers cottage on the end which I'm looking forward to furnishing. Also trying going to try and make it look like its built on a slope. Thanks for looking


- 169 replies
-
- 13
-

-

Whats on your workbench???
Stabliofarmer replied to MODELFARMER's topic in Other Conversions & Scratch Builds
Looking really smart Martin -
Thanks for taking the time to take and share the photos. Britain's certainly wouldn't be receiving any complaints from me if they where to redo this range!
-
Whats on your workbench???
Stabliofarmer replied to MODELFARMER's topic in Other Conversions & Scratch Builds
My mum made the same comments, a trip to the craft shop for a nicer orange thread should sort that but I'm struggling for an idea on how to get the knots in the right place, tried spinning the thread round but that breaks up the bale. -
Whats on your workbench???
Stabliofarmer replied to MODELFARMER's topic in Other Conversions & Scratch Builds
Having some degree of success with the sisal bales, some fine tuning of the technique required yet though.

-
Whats on your workbench???
Stabliofarmer replied to MODELFARMER's topic in Other Conversions & Scratch Builds
If its successful I plan on scanning the plans to make one, but you'll have to do the making yourself! -
Whats on your workbench???
Stabliofarmer replied to MODELFARMER's topic in Other Conversions & Scratch Builds
A baler, although I doubt it will be appearing on a display anytime soon. This is a prototype small baler (1.5x1.2x2.8cm) to test the theory for making bales using chopped sisal rope before I make a bigger version for Quadrant bales to make up a truck load. Just got to wait till collect my chopped sisal from home at the weekend to test it.
-
Yep those are the ones Mark, actually better proportioned and more detailed than I first realized.
-
Thank you for the information Tam, very interesting. I did think it odd that they would be fully coloured and ready to go if they where only test moulds but the chap displaying was sure they hadn't appeared in any catalogues. Would have to agree that the Welshies are the best sheep Britain's have done Will have to keep my eyes peeled for any coming up for sale.
-
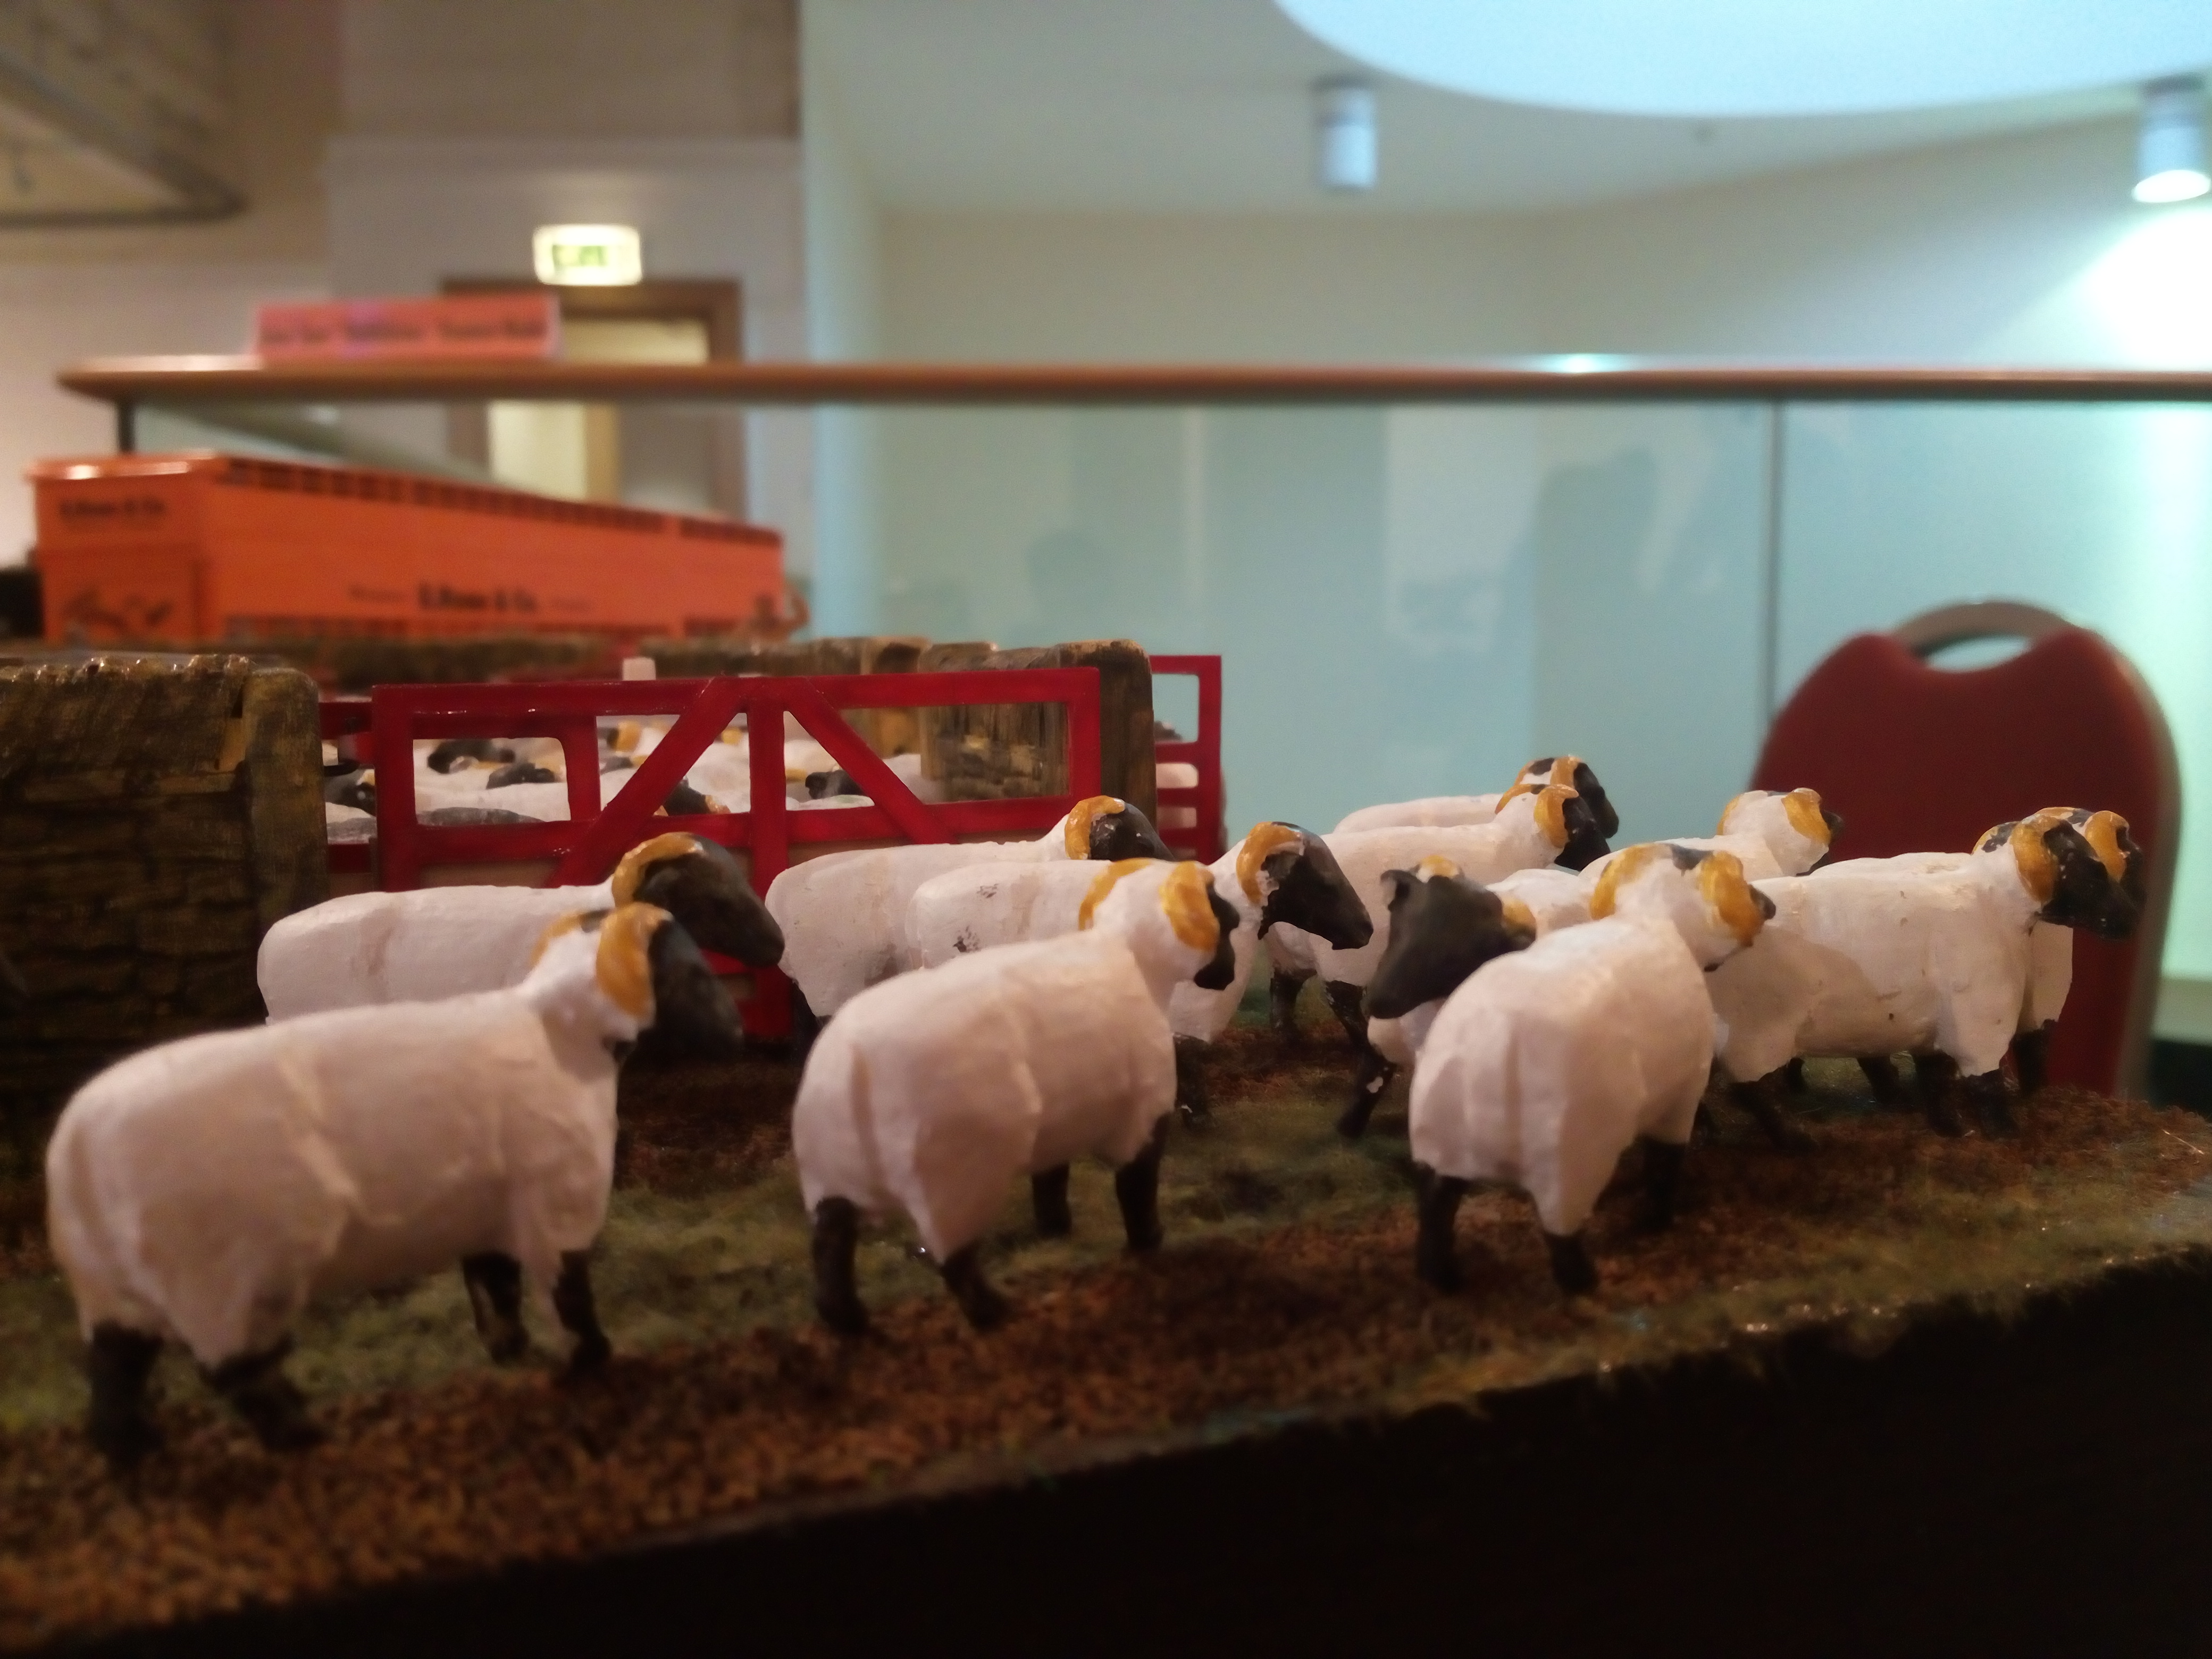
The Welsh sheep, much smaller than the common Britain's sheep but a very nice detailed model. And the old spots, a bit long and lanky but again a nice model.


-
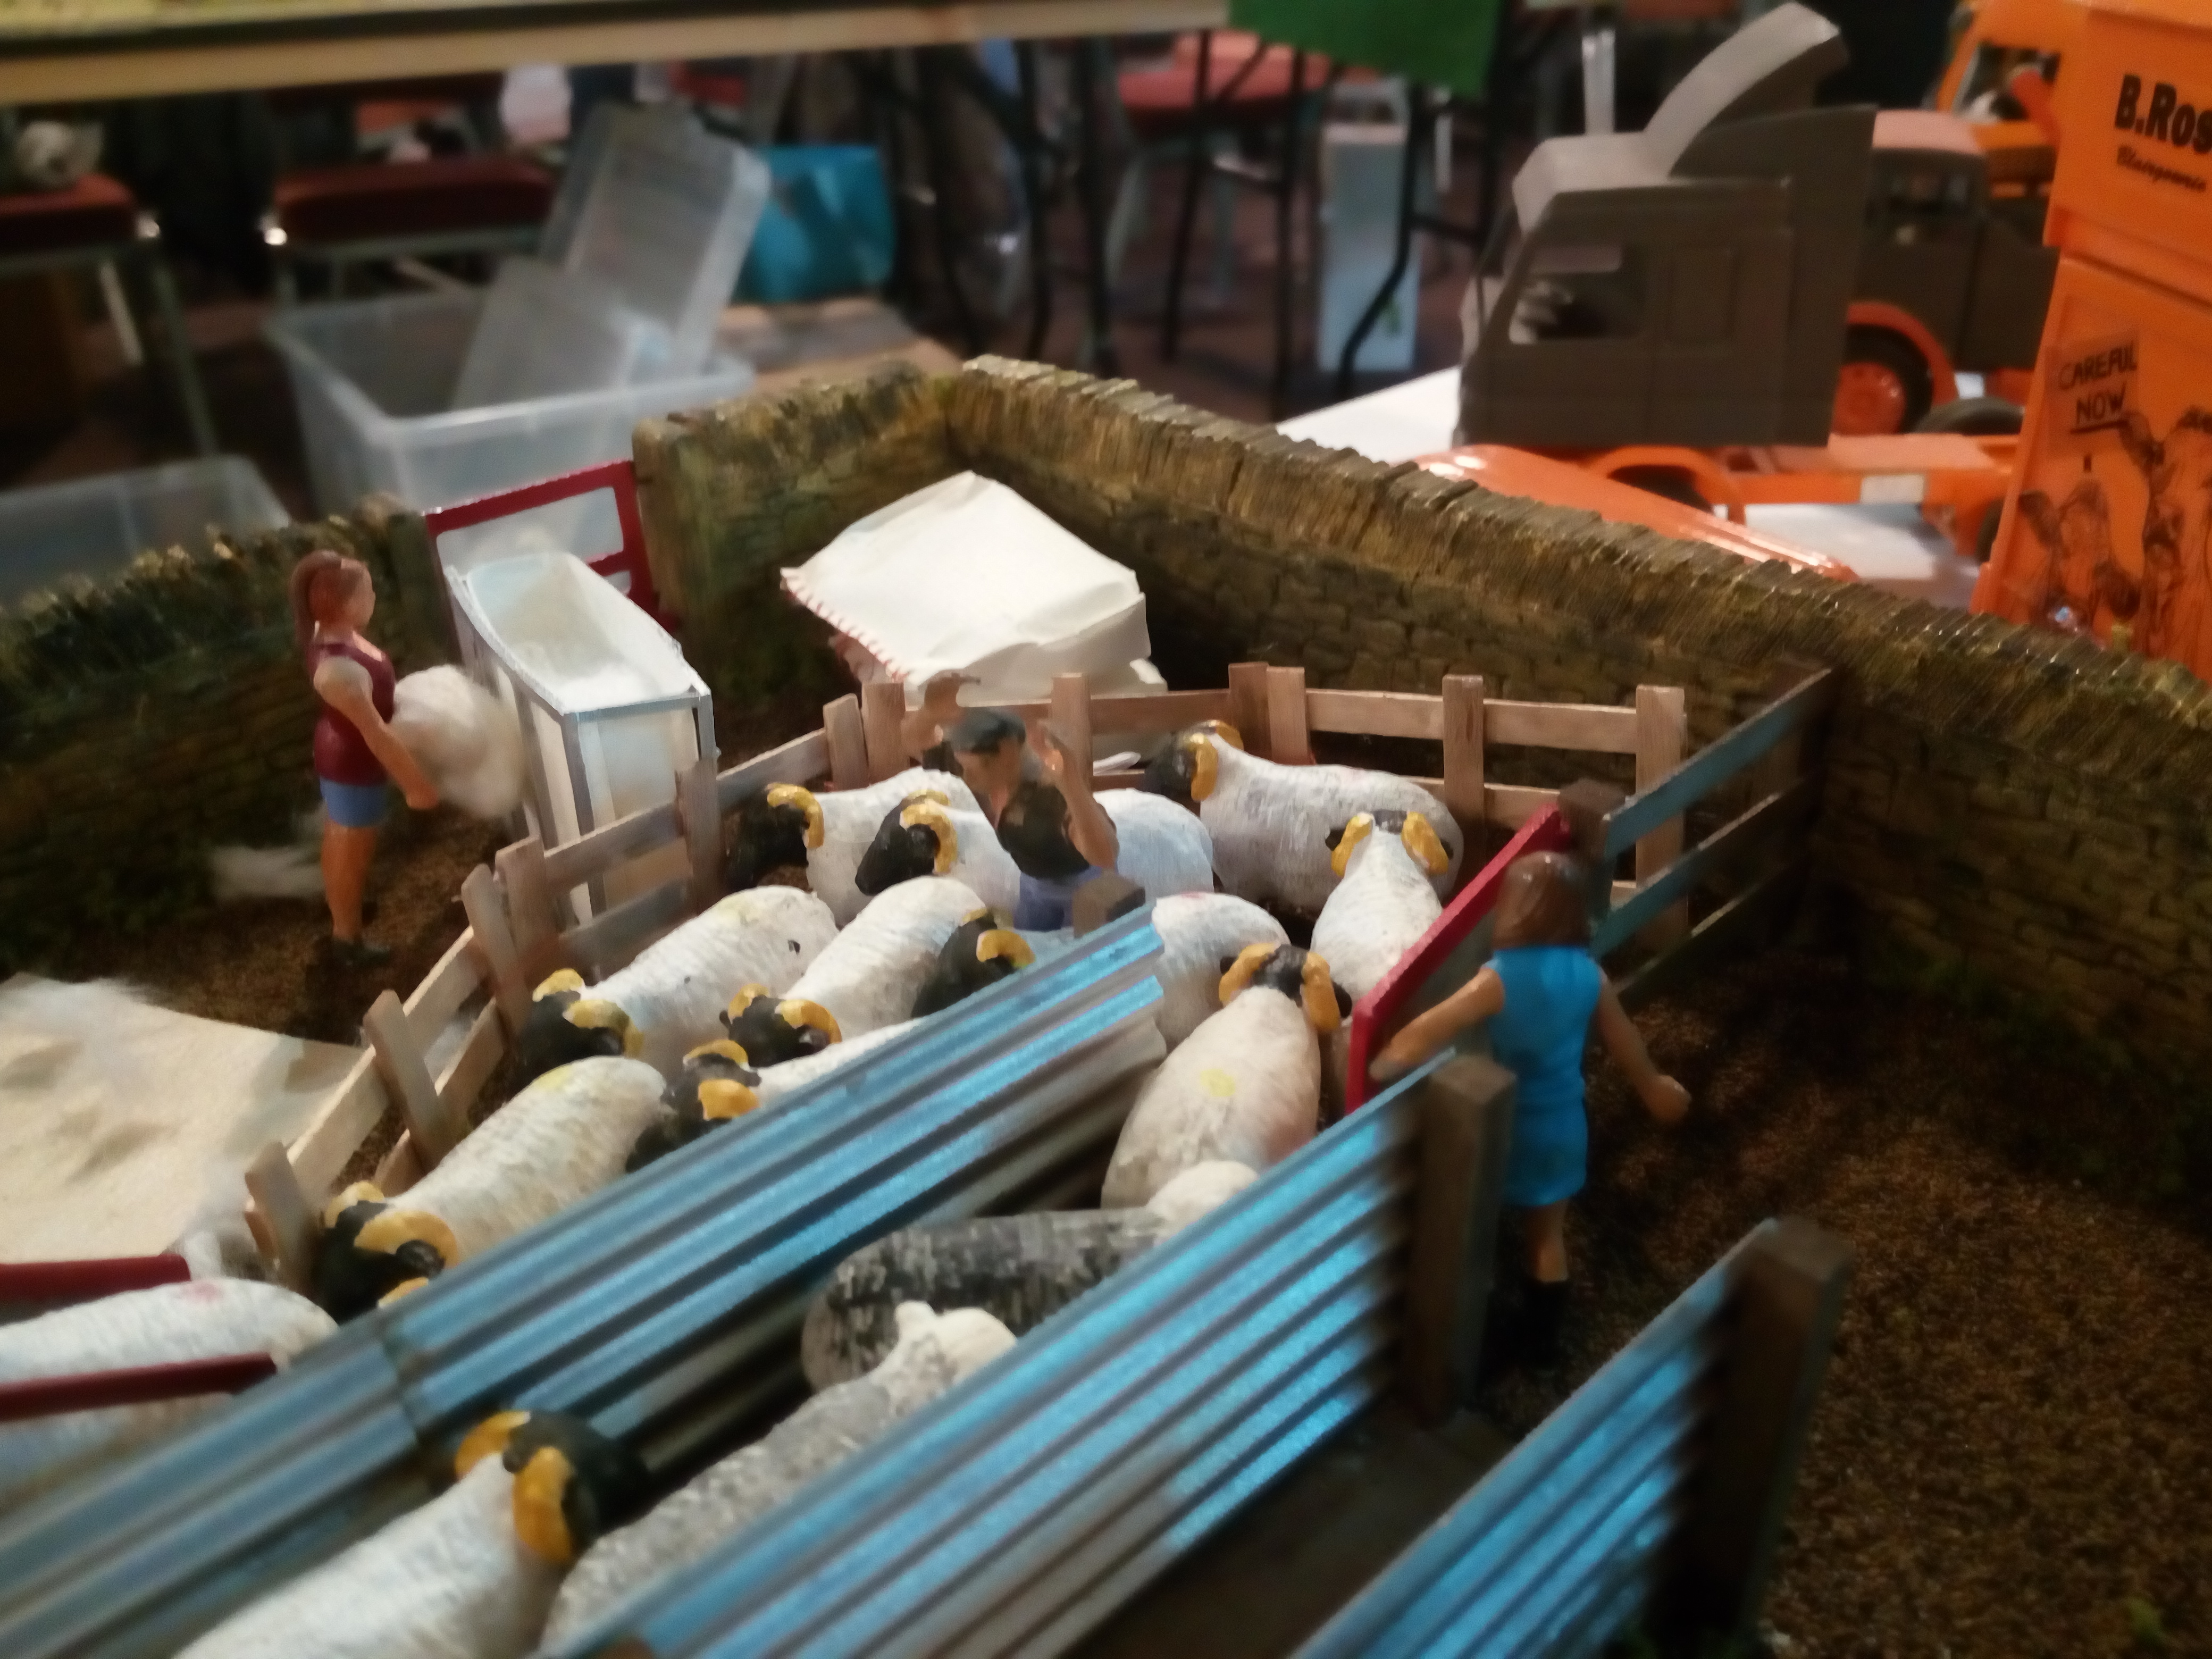
I was admiring a display at the Model Tractor, Plant and Construction show yesterday and my attention was drawn to some sheep on the display. A model/breed I'd never seen before. Upon speaking to the displayer he said they were Britain's, which surprised me. Apparently they were one of a number of new animal models Britain's where set to produce however the moulds were lost in transit to China and not replaced so only the test runs of each model exist. The gentleman had the welsh sheep and some Gloucester old spot pigs but mentioned there were a few other breeds including a Scottish blackface sheep. Does anyone have more information or photos of these lost animals?
-
Really nice pair there Brian
-
Martin's collection.
Stabliofarmer replied to mb86's topic in Latest Tractor Conversions & Scratch Builds
Awesome shots of some superb models, first two pics look like they're straight out of a brochure -
The last step was paint. A base layer of Acrylic 'Naples Yellow' was applied. This quite nicley matches the colour of local fresh cut sand stone. Once well dryed a watered down wash of black poster paint was applied, this highlights all the nooks and cranies and defines the individual stones, as well as dulling down the yellow. A layer of matt varnish was applied to fix it in place. Next various brown and green shades of acrylic where dry brushed onto the wall until it was dulled down to colour similar to my reference pics. More greens where added to one side of most walls to highlight where moss would be growing more as the sun reached areas of wall but not others. A final layer of varnish fixed everything in place and helps protect the board from warping with damp. That brings how the walls where done to a close. Any queries don't hesitate to ask!
-
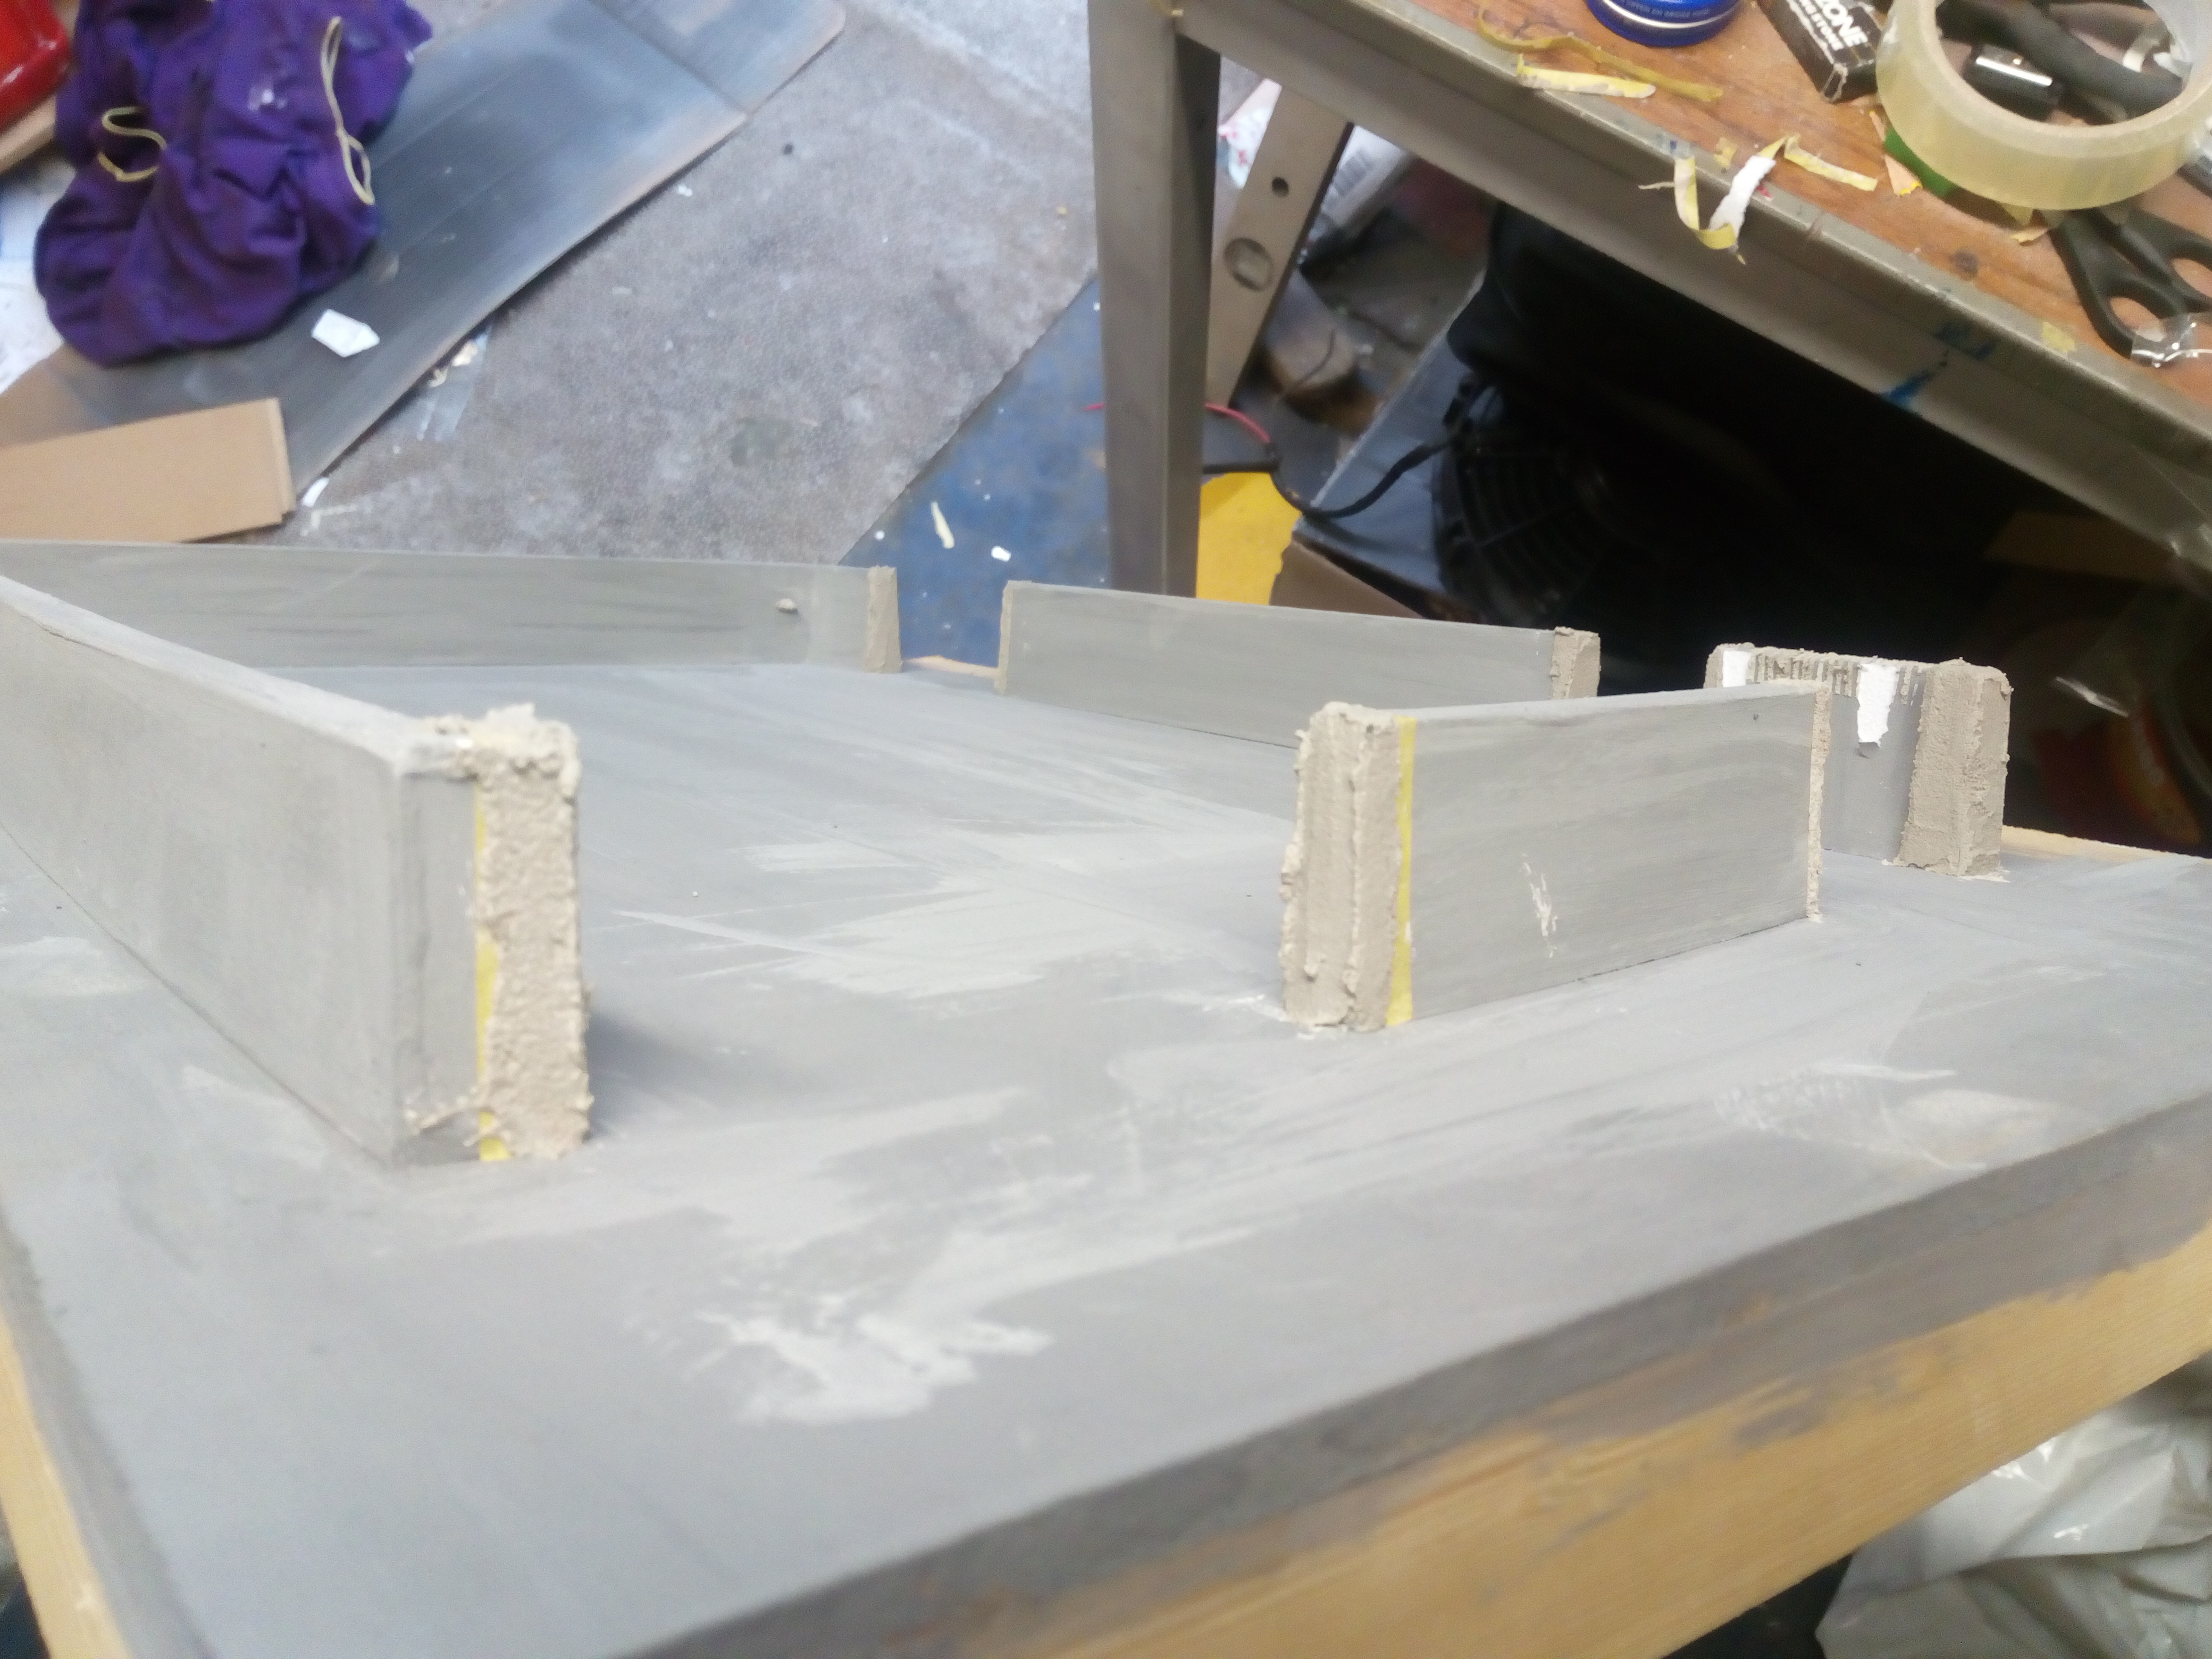
In the next photos ignore the paint, this was me experimenting with the best paint method. I will explain painting later. The two wall pieces where glued back to back with a five millimetre strip of mountboard stuck at the bottom to make the bottom wider than the top like a realtrue wall. Gate posts where made using 5mm Foamex. Cut to size and glued back to back it was roughed up using 80 grit sand paper to back to give a cut stone look. These where glued to the end of each wall section. Capping stones where next. These where made of mount board. Lengths where cut the width of the wall and individual stones cut at various lengths from these strips. All cutting was done using a pair of tin snips as this gave a nice rough cut that better resembled stone than a perfect straight cut from a knife. First layer was layed horizontally. And then the rest where stacked together glued in place with UHU adhesive. The other part to mention is corners. I had a look at how corners where in real life. And from here replicated in miniature. A mitre joint on the end of the board meant seamless transistion from each side. The rock holding the capping stones was made in thethe same way as the gate posts.


-
So I was back to square one. My first thought was to revert to a method Ive used previously which involved carving stone workeffect into DAS modelling clay. For a bit of inspiration I set off to browse Iain Robinsons blog, a bible for modelmaking, to sadly see he had taken it down because of various nit picky model railway stuff. The last I had seen Robinson was looking at using Foamex for carving walls and from here I set about searching the internet for scraps of info. (Later on in this project I willam be using Foamex to make the farmhouse which I have started and I think there are some pics in the whats on you're work bench topic.) I eventually found the rather artsy David Neat, describing himself as a 'maker and teacher of making'. Within his website he shows another material for modelling walls, similar to Foamex, Kapa Line Foam board. https://davidneat.wordpress.com/materials/surfacing/kapa-line-foamboard/ The material looked perfect and I ordered some 5mm board from 4D http://modelshop.co.uk/Shop/Raw-Materials/Foamboard/Item/Foamboard-KAPA-line-white/ITM4981 Now heres the method I used. I cut the board to the height I wanted the walls to be without the capping stones. Then peeled the paper backing off. To get stone pattern right I took a ride out onto the moors taking snaps of various bits of stone wall. I then drew out a suitable pattern in pencil on the board. Using a pointed craft tool I then carved out the stone work. I found for smaller bits the line had to be cut with a blade before passing over with the point or the material would just rip. The board is much easier to carve than clay meaning longer periods of time could be spent on carving making this process a faster one. The properties of this board mean that by pressing in individual stones the uneven nature of drystone walling could be replicated.


-
Thanks for the feedback guys appreciated. So heres how the walls were done My first attempt used Bromley Crafts Realistic Brick compound https://www.craft-products.com/realistic-brick-compound.php. The wall structure was made from mountboard and glued to the base. Originally the walls where painted a light grey but after seeing timms work on the forum using a much darker background I opted for painting the walls black. Work started with the gate posts. The edges of each gateway where masked off and a layer of brick compound applied, masking tape removed, allowed to set and a layer of matt varnish applied to lock it in place. Before adding the varnish any stray blobs or irregularities can be removed with sandpaper or a scalpel. Next the main stone work was applied. The rough stone stencil provided by Bromley just doesn't reflect the stone shape common to my local area so I set about making my own stencil. I drew out a stone pattern on paper then using a sheet of, I think 190 micron thick, Mylar layed over the paper pattern I cut out the shapes in the mylar with a craft knife. The top of the wall was masked off for the capping stones and the compound applied in a rough uneven layer. (There are various youtube videos depicting how to use the realistic brick compound as well as a guide in my old Torrax Farm topic) Finally the capping stones where done by using millimeter wide masking tape layed approximately 1 mil appart and a layer of brick compound applied I eventually came to the decision that the results where not up to the realism standard I was aiming for and subsequently I scrapped these walls and started again. I still maintain that the compund is probably the fastest realistic method to creating stone walling at an affordable price. I just knew I could get more life like.


-
What Modelling Projects Have You Got On The Go?
Stabliofarmer replied to Deere-est's topic in General Hobby Discussion
Cheers Martin, was nice to be on with something other than the trucks -
What Modelling Projects Have You Got On The Go?
Stabliofarmer replied to Deere-est's topic in General Hobby Discussion
And a Woodmizer LT20 for the same customer. Slides along and up, transport frame detaches and log lift moves.


-
What Modelling Projects Have You Got On The Go?
Stabliofarmer replied to Deere-est's topic in General Hobby Discussion
Hakki Pilke Firewood processor fresh of the bench, batch of these currently in production.


-
Still not painted but had to get the mog out on clearing duties yesterday


-
Thanks very much, very excited about building more of this dio. Will get some build pics up soon
-


- 169 replies
-
- 12
-
-

-